Here in St. Petersburg, a roof has to do more than just keep the rain out. It needs to stand strong against hurricane-force winds, our intense humidity, and the relentless Florida sun. A concrete roof tile system is an excellent defense, but its true resilience depends entirely on how it’s installed. The techniques and materials used must meet some of the strictest building codes in the country. This guide walks you through the code-compliant methods that ensure your roof is secure, beautiful, and ready for whatever our weather throws its way.
Key Takeaways
- Preparation is everything for a concrete tile roof: Before you begin, confirm your home’s structure can handle the weight, gather the correct tools and safety equipment, and familiarize yourself with local building codes.
- Focus on the details during installation: A durable, watertight roof requires a precise tile layout to shed water effectively, correct batten spacing for structural support, and secure fastening techniques to keep every tile in place.
- Build your roof to withstand Florida’s climate: Use corrosion-resistant fasteners to fight salt and moisture, install a quality underlayment as a secondary water barrier, and ensure proper ventilation to manage heat and prevent mold.
Is a Concrete Tile Roof Right for Your Home?
When you’re looking at roofing options, especially here in Florida, concrete tiles are a fantastic choice that balances beauty, durability, and value. They offer a classic look that can mimic everything from traditional clay tiles to natural slate, giving you plenty of design flexibility. But beyond their appearance, concrete tiles are built to withstand the unique challenges of our climate, from intense sun to high winds. If you’re considering a new roof, it’s worth taking a closer look at what makes concrete tiles such a popular and practical option for St. Petersburg homeowners.
The Real Benefits of a Concrete Tile Roof
One of the biggest draws of a concrete tile roof is its incredible resilience. These tiles are tough. They are highly wind-resistant, which is a must-have feature during hurricane season, and they also carry a high fire rating, adding an extra layer of safety for your home. What’s truly impressive is their longevity. A well-installed concrete tile roof is built to last anywhere from 50 to 100 years, making it a long-term investment in your property’s protection and value. When you choose professional tile roof installation, you’re getting a roof that’s designed to endure for decades to come.
Durability, Lifespan, and Warranty
When you invest in a new roof, you’re looking for something that will protect your home for years, not just until the next big storm. Concrete tiles are a top contender for their impressive durability and long-term value. They offer a level of resilience that few other materials can match, giving you confidence in your home’s defense against the elements. Let’s look at what makes them such a reliable choice for Florida homeowners who prioritize strength and longevity.
How Long Do Concrete Tiles Last?
Concrete tiles are built for the long haul. With proper installation and maintenance, they can easily last 50 years or even longer. Unlike other materials that can break down over time, concrete is naturally resistant to rot and mold, which is a huge advantage in our humid Florida climate. According to Modernize, their strength also helps them stand up well to hail and fire. This means you spend less time worrying about upkeep and more time enjoying the security of a solid, long-lasting roof over your head.
Built to Withstand Florida Weather
Florida’s weather is no joke, and your roof takes the brunt of it. Concrete tiles are engineered to handle exactly these kinds of conditions. They are heavy enough to resist high winds and stand up well to the intense UV rays from the sun. This inherent strength makes them one of the most resilient roofing options available, providing a robust shield for your home against the elements we face year after year in St. Petersburg.
Understanding Your Warranty
A strong warranty is your assurance that the manufacturer stands behind their product. Many top-tier concrete tile brands, like Newpoint, offer a limited lifetime warranty, which speaks volumes about their confidence in the material’s durability. It’s important to remember that these warranties often depend on professional installation. Working with a licensed and insured team ensures your roof is installed correctly, so your investment is protected and your warranty remains valid for years to come.
A Style for Every Home
Durability is essential, but you also want a roof that complements your home’s aesthetic. The great thing about concrete tiles is that you don’t have to choose between strength and style. They come in a wide array of designs and colors, allowing you to achieve the exact look you want without compromising on performance. From classic to contemporary, concrete tiles provide the flexibility to enhance your home’s curb appeal while delivering top-tier protection.
Profiles and Designs
Whether your home is a classic Mediterranean villa or a modern coastal retreat, there’s a concrete tile to match. You can choose from various profiles, from the wavy, dimensional look of high-profile “S” tiles to the clean, simple lines of flat tiles. With a vast selection of colors and blends available, you can customize your roof to perfectly suit your home’s architecture and your personal taste, creating a beautiful and cohesive exterior.
Energy-Efficient “Cool Roof” Options
In the Florida heat, an energy-efficient roof can make a real difference in your comfort and your utility bills. Many concrete tiles are available in “cool roof” colors, which are designed to reflect more sunlight and absorb less heat than a standard roof. This helps keep your attic and home cooler, reducing the strain on your air conditioning system. As noted by Eagle Roofing, this inherent thermal mass helps create a more energy-efficient home.
Finding the Perfect Match for Repairs
If a few tiles get damaged during a storm, you don’t want a mismatched patch on your roof. Thankfully, the concrete tile industry makes it easier to find replacements. Many suppliers, like Custom Tile Roofing, can help you identify and source tiles to match your existing roof, even if it’s several years old. This ensures that any repairs blend in seamlessly, maintaining your home’s beautiful, uniform appearance.
Concrete vs. Clay Tiles: Which Should You Choose?
People often compare concrete and clay tiles because they can look very similar. Both offer a beautiful, classic aesthetic. The main difference often comes down to lifespan and cost. While clay tiles might last a bit longer, you can still expect a solid 30 to 50 years of service from a concrete tile roof. Concrete tiles provide a reliable and attractive roof covering that performs much like traditional clay but often at a more affordable price point. This makes them an excellent choice if you love the look of tile but are also keeping an eye on your budget.
Concrete vs. Asphalt Shingles
When you compare concrete tiles to asphalt shingles, the most obvious difference is the upfront cost. Shingles are often seen as the more budget-friendly choice, but that initial saving doesn’t tell the whole story. Here in Florida, an asphalt shingle roof might last 15 to 20 years before the sun and storms take their toll. In contrast, a professionally installed concrete tile roof can last for 50 years or even longer. Concrete tiles are simply built tougher, offering superior resistance to high winds, hail, and fire. Think of it as a long-term investment in your home’s safety and value, one that pays for itself by not needing a replacement for decades.
Concrete vs. Metal and Wood Shake Roofing
Metal and wood shake roofs each have their own appeal, but concrete tiles often provide a more practical solution for our climate. While metal roofing is durable, some homeowners prefer the classic, textured appearance of tile. Concrete also has the advantage of being much quieter during our heavy Florida rainstorms. Wood shake offers a beautiful, rustic look, but it’s highly susceptible to rot, mold, and insect damage in our humid environment. Concrete tiles can give you that same wood-shake aesthetic without the constant worry and maintenance. They are specifically designed to resist the moisture and pests that can compromise a wooden roof, giving you peace of mind and lasting beauty.
Can Your Home Handle the Weight of Concrete Tiles?
Before you set your heart on concrete tiles, there’s one important factor to consider: their weight. Concrete tiles are heavy, and this extra weight puts additional pressure on your home’s structure. For some houses, this isn’t an issue, but for others, the roof may need additional structural support to handle the load safely. It’s essential to have a professional assess your home to ensure it can support a concrete tile roof. A structural engineer or an experienced roofing contractor can determine if any reinforcements are needed before installation begins. You can always contact us for an expert evaluation.
How Much Does a Concrete Tile Roof Cost?
Let’s talk about the budget. A new roof is a significant investment, and it’s important to understand the costs involved before you commit. Concrete tile roofs are a premium option with a higher upfront cost than something like asphalt shingles, but their incredible lifespan often makes them a more cost-effective choice over the long run. The final price tag can vary quite a bit based on several factors, from the size and complexity of your roof to the specific style of tile you choose. Here’s a look at what you can generally expect when pricing a concrete tile roof for your home.
Breaking Down the Total Cost
When you get a quote for a concrete tile roof, the price is typically calculated per square foot. Including both materials and professional labor, you can expect the cost to fall somewhere between $10.70 and $27.50 per square foot. In the roofing world, contractors often talk in “squares,” where one square equals 100 square feet. So, that translates to about $1,070 to $2,750 per square. This range accounts for different tile styles, underlayment quality, and local labor rates. While it’s a wider range, it gives you a solid baseline for what a durable, long-lasting concrete tile roof installation might cost.
Factors That Influence the Final Price
For a typical 2,000-square-foot home, the total cost for a new concrete tile roof usually lands between $21,400 and $55,000. The final number depends on a few key variables. As we discussed, your home might need structural reinforcements to support the weight of the tiles, which could add to the overall project cost. Other factors include the pitch and complexity of your roof—a steep roof with multiple gables and valleys requires more labor and materials than a simple, low-slope roof. The specific tile profile you select and the cost of removing and disposing of your old roof will also play a role. The best way to get an accurate number is to have a professional roofing contractor provide a detailed estimate.
What About Repair Costs?
One of the great things about concrete tiles is their durability, which means you’ll likely spend less on repairs over the life of the roof. However, damage can still happen, especially after a severe storm with high winds or falling tree limbs. If a few tiles get cracked or dislodged, the good news is that repairs are usually straightforward and relatively affordable. For small-scale fixes, such as replacing a handful of broken tiles, homeowners can typically expect to pay between $500 and $1,500. Having a trusted local team you can call for timely repairs helps ensure small issues don’t turn into bigger, more expensive problems down the road.
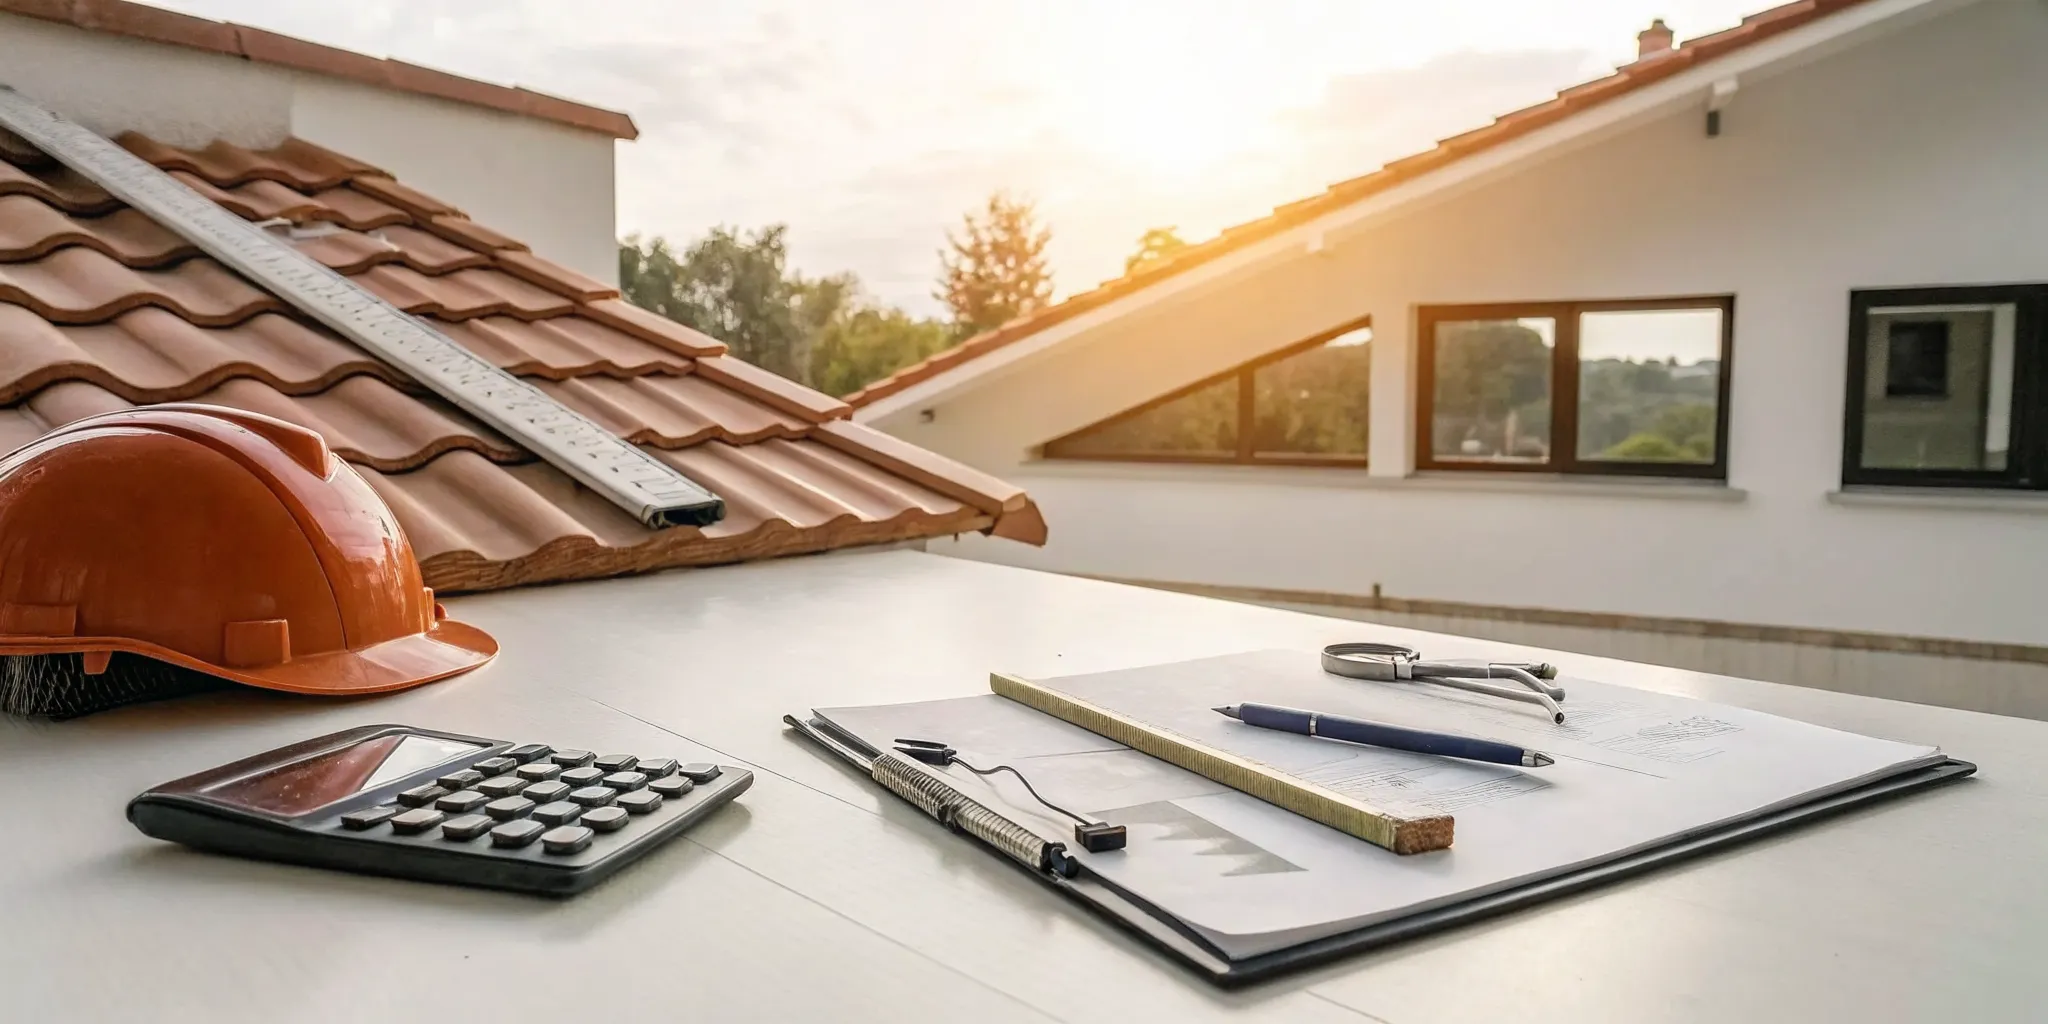
Everything You Need to Install Concrete Roof Tiles
A successful concrete tile roof installation starts long before the first tile is laid. It begins with gathering the right materials, tools, and safety equipment. Being prepared not only makes the job go smoother but also ensures the final result is safe, secure, and built to last. Think of this as your pre-flight check. Getting everything in order now will save you major headaches later and help you create a roof that can stand up to Florida’s demanding weather. From the intense sun to hurricane-force winds, our roofs take a beating, so a meticulous approach is key. Taking the time to assemble a complete and correct toolkit is the first and most important step toward a roof that gives you peace of mind for decades. Before you climb a single ladder, let’s walk through exactly what you’ll need to have on hand.
Your Essential Materials Checklist
First things first, let’s talk materials. Concrete tile roofs in Florida are known for being incredibly durable and wind-resistant, often lasting 50 to 100 years, but they require the right supporting cast. Because these tiles are heavy, you must confirm your home’s structure can handle the load before you buy anything.
Your basic shopping list will include:
- Concrete roof tiles
- Roofing underlayment (a high-quality synthetic is a great choice for our humid climate)
- Batten system (wood or metal strips that ensure proper tile placement and drainage)
- Corrosion-resistant fasteners (nails or screws designed to withstand salt and moisture)
- Flashing for valleys, chimneys, and vents
- Roofing cement or sealant
- Ridge and hip cap tiles for finishing touches
The Right Tools for a Flawless Finish
Having the right tools is non-negotiable for a professional-grade installation. Using the proper equipment ensures each tile is placed and secured correctly, which is critical for performance and code compliance. The Florida Building Code is very specific, stating that tiles must be fastened in accordance with approved installation manuals to guarantee they stay put during a storm.
Here are the tools you’ll want in your belt:
- Hammer or pneumatic nail gun
- Chalk line for creating straight layout lines
- Measuring tape
- Utility knife
- Circular saw with a diamond blade for clean tile cuts
- Trowel for applying cement
- Caulking gun for sealant
- Ladders and/or scaffolding
Safety First: Your Essential Gear List
Working on a roof is inherently risky, and working with heavy materials like concrete tiles means putting safety at the top of your list. All that extra weight puts additional pressure on your roof’s structure, so you need to protect yourself from start to finish. Never compromise on safety gear; it’s the most important part of your toolkit, and no shortcut is ever worth the risk of an accident.
Your essential safety equipment includes:
- A personal fall arrest system (harness, lanyard, and anchor point)
- Sturdy, non-slip work boots
- Heavy-duty work gloves to protect your hands
- Safety glasses to shield your eyes from dust and debris
- A hard hat
How to Meet St. Petersburg’s Roofing Codes
Finally, every roofing project must comply with local regulations. In our area, St. Petersburg codes specify that tiles must meet certain physical property requirements to ensure they are safe and effective. Following these rules isn’t just about passing an inspection; it’s about making sure your roof can protect your home for decades. It’s also smart to stay current on recent updates to the Florida Building Code, which affect things like underlayment and nail depth. If you’re ever unsure about compliance, it’s always best to consult with a licensed professional. Our team at Go Time Restoration is always here to help.
How to Install Concrete Roof Tiles: A Step-by-Step Guide
Installing a concrete tile roof is a significant project that demands precision and a solid understanding of roofing principles. While we always recommend hiring a licensed professional for a job this important, knowing the process helps you make informed decisions as a homeowner. Here’s a look at the key steps involved in a proper concrete tile installation.
Step 1: Prepare the Roof Deck and Underlayment
Before a single tile is laid, the foundation of your roof, the deck, needs to be in perfect shape. A thorough inspection is necessary to find and repair any weak or damaged spots. The roof deck must be completely clean, dry, and flat to properly support the heavy load of concrete tiles. Once the deck is prepared, a high-quality underlayment is installed. This material acts as a critical waterproof barrier, providing your home’s first line of defense against moisture and potential leaks, which is essential for preventing future water damage.
Step 2: Install the Batten System
Next, wooden strips called battens are installed horizontally across the roof. These battens are fastened securely into the roof rafters, creating a framework that will hold the tiles in place. The spacing between these battens is crucial and must be measured precisely based on the size of your specific tiles. This measurement, known as the gauge, ensures the tiles overlap correctly. This creates a tight seal that effectively sheds water and protects your home from the elements, ensuring each tile is properly supported and locked into the overall roofing system.
Step 3: Lay and Align Your First Tiles
With the prep work done, it’s time to start laying the tiles. The process typically begins at the bottom right corner of the roof, moving row by row toward the left and up to the peak. To ensure the roof is watertight and structurally sound, each new row of tiles is staggered. This prevents the vertical joints from lining up, which is a key technique for preventing leaks. Getting this layout right from the very first tile is essential for a successful and professional-looking installation that will last for decades.
Step 4: Secure Each Concrete Tile in Place
Once the tiles are properly aligned, they need to be securely fastened to the battens. This is usually done with galvanized roofing nails or screws that resist rust and corrosion. For maximum wind resistance, a critical factor here in Florida, a specific fastening pattern is used. The first two rows of tiles are typically secured, and then every third or fourth row after that. This method ensures the entire roof system is locked down and can withstand high winds without tiles lifting off, protecting your home during a storm.
Step 5: Add the Finishing Ridge and Hip Caps
The final step in placing the tiles is installing the ridge and hip caps. These are specially shaped tiles designed to cover the peaks (ridges) and angled joints (hips) of the roof. They provide a clean, finished look while also sealing these vulnerable areas against the weather. These cap tiles are secured with specialized clips or mortar to ensure they stay firmly in place, completing the roof’s protective shell. For a professional finish on your roofing project, it’s important this step is done with care.
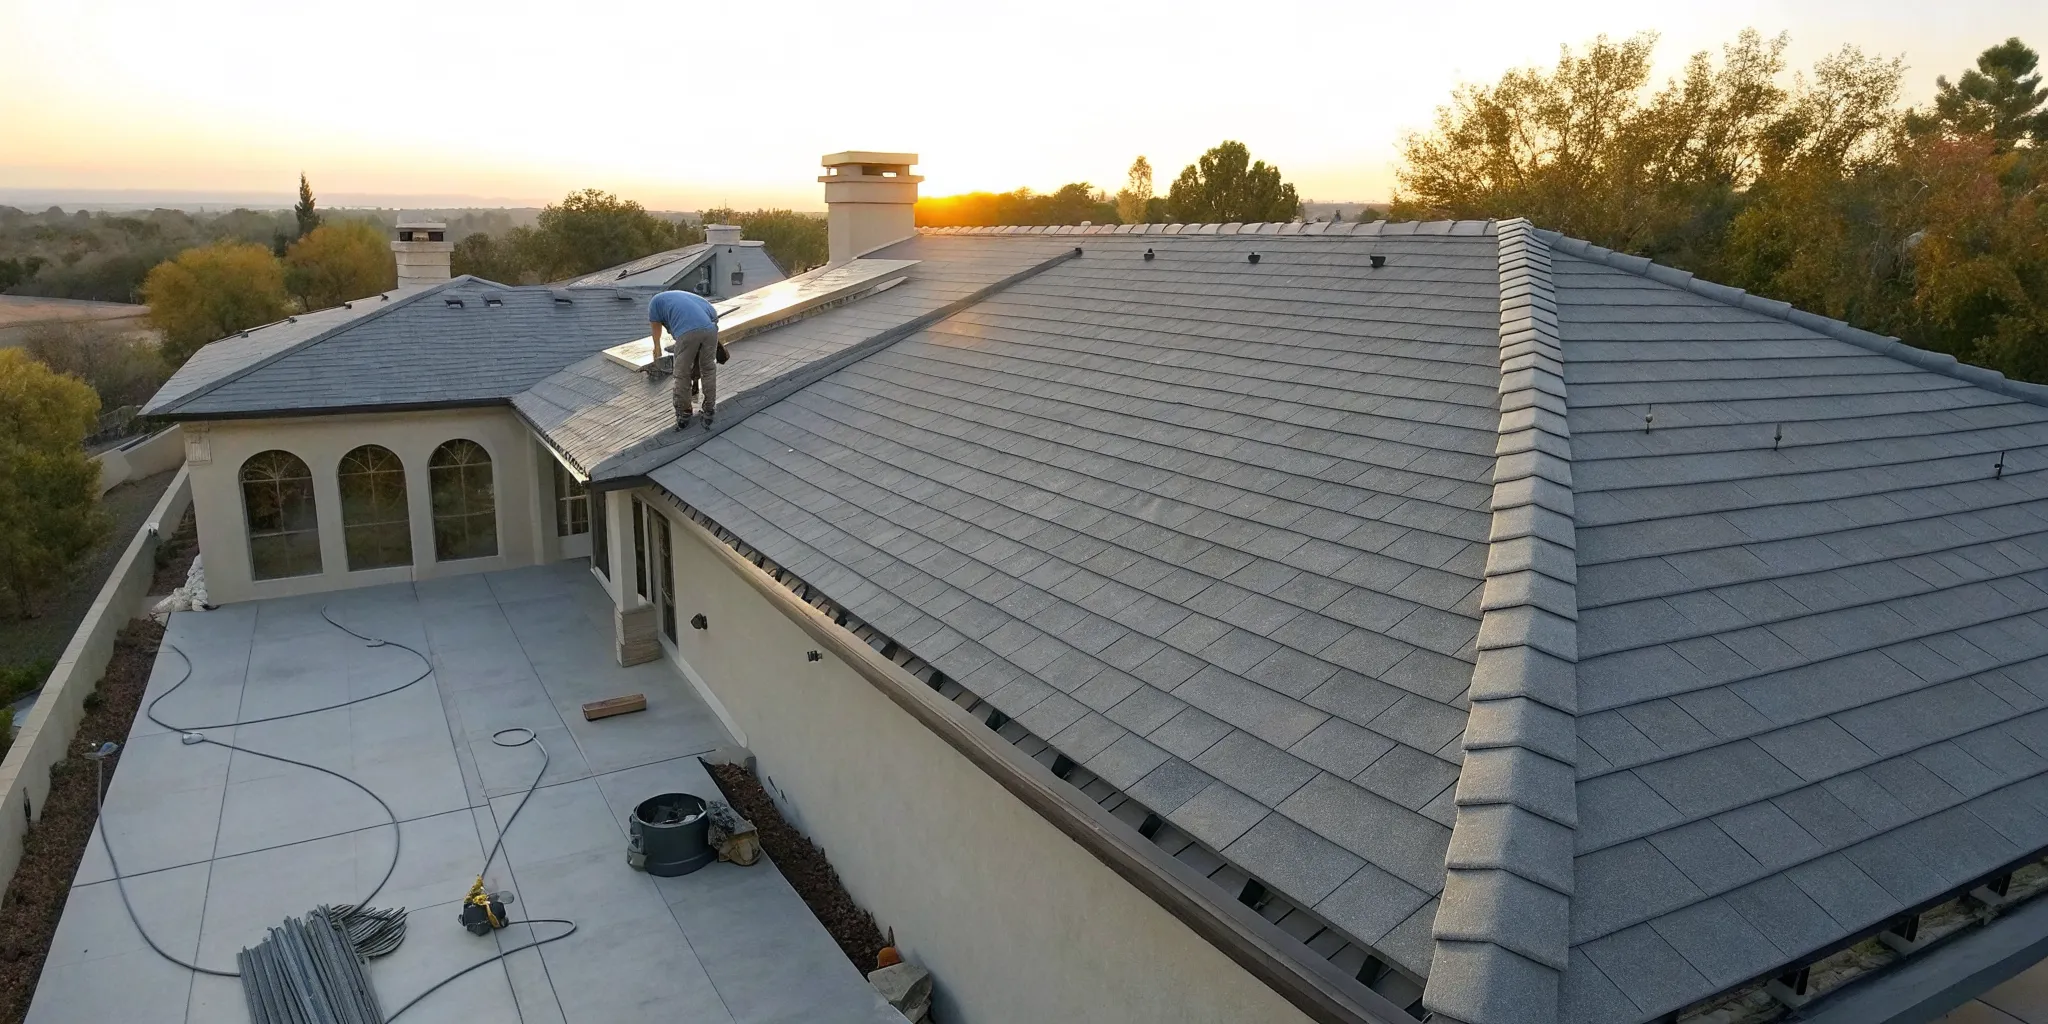
Step 6: Fortify Your Roof for Florida’s High Winds
Living in St. Petersburg means any roof installation must account for severe weather, including hurricane-force winds. Concrete tile roofs are exceptionally durable and wind-resistant, but only if they are installed correctly according to strict local building codes. Proper fastening and structural support are not optional; they are essential for ensuring your roof can handle the elements. When done right, a concrete tile roof can last 50 to 100 years, making it a fantastic long-term investment in your home’s safety. If you have questions about getting your home ready, our disaster recovery services team can help.
Common Installation Mistakes (And How to Avoid Them)
Even the best materials can fail if they aren’t installed correctly. A concrete tile roof is a significant investment, so getting the installation right is key to its longevity and performance. Avoiding a few common pitfalls can save you from leaks, costly repairs, and headaches down the road. Here’s what to watch out for to ensure your new roof is beautiful, durable, and ready to protect your home for decades.
Mistake #1: Incorrect Layout and Spacing
The most important part of tiling a roof is getting the layout right from the very first tile. If the pattern is off, the entire roof will look messy and, more importantly, it will likely leak. Flat interlocking tiles must be installed in a broken bond pattern, which means the tiles in each row are staggered. This isn’t just for looks; this specific configuration allows any water that gets into the interlock of one tile to drain safely onto the flat surface of the tile below it. A precise layout ensures every tile overlaps correctly, creating a watertight seal that directs rain right into the gutters.
Mistake #2: Inadequate Fastening and Support
Concrete tiles are heavy, and all that extra weight puts pressure on your home’s structure. Before installation, a professional should confirm your roof framing can handle the load. Sometimes, additional structural support is needed to prevent sagging over time. Furthermore, every tile must be fastened according to the strict standards of the Florida Building Code, especially here in St. Petersburg where we face high winds. Using the wrong fasteners or incorrect techniques can lead to loose or flying tiles during a storm, creating a serious safety hazard and exposing your home to significant damage.
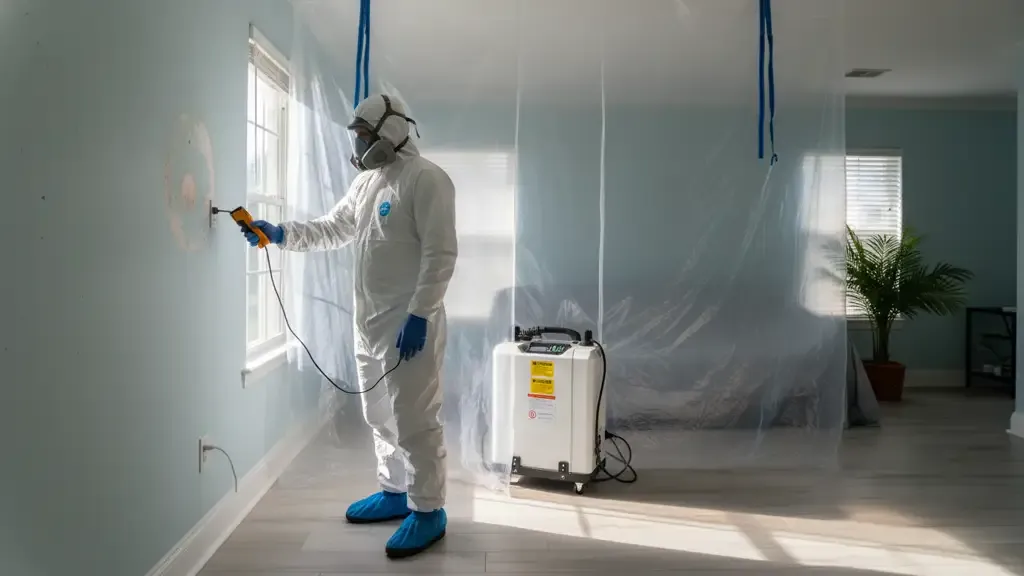
Mistake #3: Overlooking Ventilation and Moisture
A tile roof is more than just the tiles you see on top. A high-quality underlayment is installed first, acting as a critical secondary barrier against water. This layer protects your home from moisture even if a tile cracks or shifts. Just as important is proper ventilation. A well-designed system allows air to flow between the tiles and the roof deck, preventing heat and moisture buildup in your attic. This not only helps with your home’s energy efficiency but also stops mold growth and protects the roof structure from rot. Our professional roofing services always include a comprehensive plan for both underlayment and ventilation.
Caring for Your New Concrete Tile Roof
Once your beautiful new roof is installed, a little maintenance goes a long way. We recommend scheduling a professional inspection once a year to catch any small issues before they become big problems. Things like cracked, broken, or slipped tiles should be addressed immediately. It’s important to remember that a damaged concrete tile should always be replaced, not repaired with sealants, to ensure the roof remains secure and watertight. While you can do a visual check from the ground, it’s safest to have an expert get on the roof. If you notice anything that looks out of place, contact us to schedule a thorough inspection.
Simple Maintenance Tips
One of the best things about concrete tiles is how little day-to-day fuss they require. To keep them in top shape, a simple yearly rinse can wash away any accumulated dirt or debris, and it’s always a good habit to do a quick visual check from the ground after any significant storm. However, the most effective way to protect your investment is to schedule a professional inspection once a year. An expert can safely get on the roof to spot subtle issues like cracked, broken, or slipped tiles that might not be visible from below. Addressing these small problems immediately is crucial. Remember, a damaged concrete tile should always be fully replaced, not just patched with sealant, to maintain a secure and watertight seal for your home.
When to Repair vs. Replace Your Roof
Knowing when to patch things up versus when to start fresh is a big decision for any homeowner. Generally, a repair is the right call if the damage is isolated. If you’re dealing with just a few cracked tiles, a small, contained leak, or minor damage to the underlayment, a targeted repair can solve the problem effectively. However, if your roof is showing its age—typically over 50 years old—or if the problems are widespread, a full replacement is often the smarter long-term solution. Multiple leaks, significant structural issues, or a large number of broken or missing tiles are all signs that your roof’s integrity is compromised. An honest assessment from a trusted roofing professional can help you understand your options and make the best choice for your home.
Related Articles
- Tile Roofing Services | Go Time Roofing & Restoration
- Residential Flat Roof Replacement: The Ultimate Guide
Frequently Asked Questions
How long can I expect a concrete tile roof to last in the Florida climate? A professionally installed concrete tile roof is one of the most durable options for our area, built to last 50 years or even longer. While the intense sun and humid, salty air can be tough on many materials, concrete holds up exceptionally well. Its longevity depends on proper installation, quality underlayment, and routine inspections to catch any small issues before they grow.
Are concrete tiles an energy-efficient choice for my home? Yes, they are a great option for keeping your home cooler. The heavy, dense nature of the tiles provides excellent thermal resistance, meaning less heat transfers into your attic. Additionally, the way tiles are installed creates a natural air gap between the tiles and the roof deck, which allows for continuous airflow. This ventilation helps dissipate heat, reducing the strain on your air conditioning system and potentially lowering your energy bills.
What does routine maintenance for a concrete tile roof involve? Maintenance is fairly straightforward. We recommend an annual professional inspection to check for any cracked, loose, or slipped tiles, especially after a major storm. It’s also important to keep gutters and valleys clear of leaves and debris to ensure water can drain properly. Avoid pressure washing, as it can damage the tile surface and force water underneath into the underlayment.
Is it safe for me to walk on my concrete tile roof? It’s best to leave any roof-walking to the professionals. Concrete tiles can crack under concentrated weight if not walked on correctly, and a broken tile can lead to a leak. Roofing professionals are trained to distribute their weight properly and know exactly where to step to avoid causing damage. For your safety and the integrity of your roof, always call an expert for inspections or repairs.
What should I do if I find a cracked or broken tile? You should have it replaced as soon as possible. Even a single broken tile can create an entry point for water, which can damage the underlayment and roof deck over time. While it might not seem like an emergency, addressing it quickly prevents moisture from getting in and causing more significant problems like wood rot or mold. A professional can safely replace the damaged tile without disturbing the surrounding ones.