In the panic of discovering a flood, it’s easy to make mistakes that can turn a bad situation into a catastrophe. Acting too slowly, underestimating the damage, or attempting a DIY repair you’re not equipped for can lead to much bigger problems down the road, including dangerous mold growth and denied insurance claims. Knowing what to do after water damage is just as much about avoiding common pitfalls as it is about taking the right actions. This guide is your roadmap to a smart and effective response, helping you sidestep the errors many homeowners make. We’ll show you how to act quickly but carefully, ensuring every step you take helps the situation, not hurts it.
Key Takeaways
- Secure the area before anything else: Your immediate priorities are safety and stopping the water. Cut the power to wet rooms to avoid electrical shock, then find and shut off the main water valve to prevent further flooding.
- Act fast to prevent mold growth: You have a 24 to 48-hour window to dry everything out before mold can take hold. Use fans and dehumidifiers to remove moisture from the air and pull out soaked materials like rugs and drywall to address hidden dampness.
- Document everything and call for backup when needed: Before cleaning, take extensive photos and videos of all damage for your insurance claim. If the water is widespread, contaminated, or has been sitting for over a day, it’s time to call a professional for a safe and complete restoration.
Found Water Damage? Here Are Your First Steps
Discovering water damage in your home is jarring, but taking a deep breath and acting quickly can make a huge difference. The first few hours are critical for minimizing the impact and protecting your property. Before you even think about cleanup, focus on these four essential steps to secure the area and stop the problem from getting worse. Getting these first moves right sets the stage for a much smoother recovery.
Safely Assess the Scene
Before you rush in to save your things, take a moment to pause at the doorway and assess the situation. Your safety, and your family’s, is the absolute top priority. Look up for sagging ceilings that could collapse and look down for slippery floors. If the water is deep enough to cover electrical outlets or you see any sparks, do not enter the room. A careful assessment ensures you don’t put yourself in danger. If the situation looks too hazardous, stay out and call us. Our disaster recovery services team is equipped to handle these dangerous environments safely.
Cut the Power to Affected Areas
Water and electricity are a dangerous mix, so your next step is to cut the power to any wet areas. This is a non-negotiable step to prevent the risk of electric shock. If you can safely get to your home’s breaker box, flip the breakers for the affected rooms to the ‘off’ position. If you’re not sure which breaker goes to which room, it’s always safest to shut off the main breaker that controls the entire house. If the breaker box itself is in a flooded area or you have any doubts, don’t touch it. Call a licensed electrician or a professional restoration team immediately.
Stop the Water at its Source
Now that the area is electrically safe, you need to stop more water from coming in. The first thing to do is find the source of the leak and shut it off. For a burst pipe or overflowing fixture, this often means turning off your home’s main water supply. You can usually find the main shutoff valve in your basement, garage, or a utility closet. If a single appliance is the culprit, like a dishwasher, look for a smaller shutoff valve on the pipe connected to it. Stopping the flow is a critical part of any water damage restoration and keeps a bad situation from becoming a catastrophe.
Move Valuables to a Dry Place
With the immediate dangers handled, you can start protecting your belongings. Carefully move what you can to a completely dry area of your home. Start with irreplaceable items like family photos, important documents, and electronics. For heavy furniture that you can’t move, you can still protect it. Place small pieces of aluminum foil or wood blocks under the legs. This simple trick creates a barrier, preventing the furniture from soaking up water and stopping wood stains from bleeding into your carpet. Don’t try to be a hero and lift anything too heavy; your safety is still the priority.
How to Stay Safe During Cleanup
Once you’ve stopped the water and moved your belongings, the cleanup process begins. But before you dive in, your absolute first priority must be safety. Water damage can create a surprisingly hazardous environment, with hidden risks from structural instability to electrical dangers. Taking a few key precautions will protect you and your family from injury while you work to get your home back in order. Think of this as your safety checklist before you even pick up a mop.
Gear Up: Wear Protective Equipment
Before you step into the affected area, it’s crucial to protect yourself. Start with the basics: waterproof boots and sturdy gloves are non-negotiable. Floodwater can be contaminated with all sorts of unpleasant things, and you want a solid barrier between you and the mess. As you begin working, keep an eye out for potential overhead dangers. Be cautious of sagging ceilings or walls that show signs of cracking, as these could be unstable and pose a serious risk. Proper gear isn’t just about staying clean; it’s about staying safe from physical harm and potential contaminants.
Look Out for Structural Dangers
Water can do more than just soak your carpets; it can weaken the very structure of your home. As you assess the room, carefully inspect for signs of serious structural damage. Look for sagging ceilings, cracked or warped floors, and loose tiles. If you spot any of these red flags, please don’t try to fix them yourself. These issues indicate a deeper problem that requires professional expertise. Attempting a DIY repair could make the situation worse or even lead to injury. This is the time to call in a team that handles disaster recovery services to ensure your home is structurally sound.
Know the Risks of Contaminated Water
Not all water is the same, and it’s important to know what you’re dealing with. Water from a burst supply line is considered “clean,” but water from an overflowing dishwasher or washing machine is “gray water” and can cause illness. The most dangerous is “black water,” which comes from sewage backups or flooding and is highly contaminated. You should never attempt to clean gray or black water on your own. The health risks are just too high. Instead, contact a professional water damage restoration team immediately to handle it safely.
Steer Clear of Electrical Hazards
Water and electricity are a dangerous combination. To prevent the risk of electric shock, your first step should be to turn off the power to all affected areas of your home. If you can safely access your breaker box, do so, but never stand in water while handling electrical systems. If the breaker box is in a wet area or you have any uncertainty about how to safely cut the power, don’t take the risk. Your best and safest option is to call a licensed electrician to handle it for you. Your safety is always more important than a piece of drywall.
How to Stop the Water Flow
Once you’ve made sure the area is safe, your next mission is to stop more water from coming in. This single step is the most critical thing you can do to limit the damage. The longer water flows, the more it soaks into your floors, walls, and belongings, leading to bigger problems down the road. Think of it as putting a cap on the issue before you start the cleanup. Here’s how to tackle the most common water sources head-on.
Find the Source of the Leak
Your first task is to play detective and find out exactly where the water is coming from. Sometimes it’s obvious, like a malfunctioning washing machine or an overflowing sink. In other cases, you might see a stain spreading across your ceiling or water pooling on the floor with no clear origin. Try to trace the path of the water back to its source. If you suspect a plumbing issue but can’t pinpoint it, don’t start tearing into walls just yet. The goal is to identify the general area so you know what your next move should be, which is often shutting off the water supply.
Turn Off the Main Water Valve
If you’re dealing with a significant leak, like a burst pipe, you need to shut down your home’s entire water supply. The best way to do this is by turning off the main water valve. I can’t stress this enough: take a few minutes to find your main water valve if you don’t already know where it is. It’s usually located where the main water line enters your house, often in a basement, crawl space, or utility closet. Turning this valve (it might be a wheel or a lever) will stop all water from flowing into your home, giving you the time you need to address the emergency without making it worse.
Deal with Burst Pipes and Leaks
With the water shut off, you’ve stopped the immediate crisis, but the broken pipe is still there. This is when you should call a plumber. While you wait, you can start moving items away from the affected area. For smaller leaks, like a drip under the kitchen sink, you can often find a smaller, dedicated shutoff valve on the pipes leading directly to that faucet. This is a great temporary fix because it lets you stop the leak without cutting off water to your entire house. Once the plumbing is repaired, the next step is to address the mess left behind with professional water damage restoration.
Temporarily Seal Roof and Window Leaks
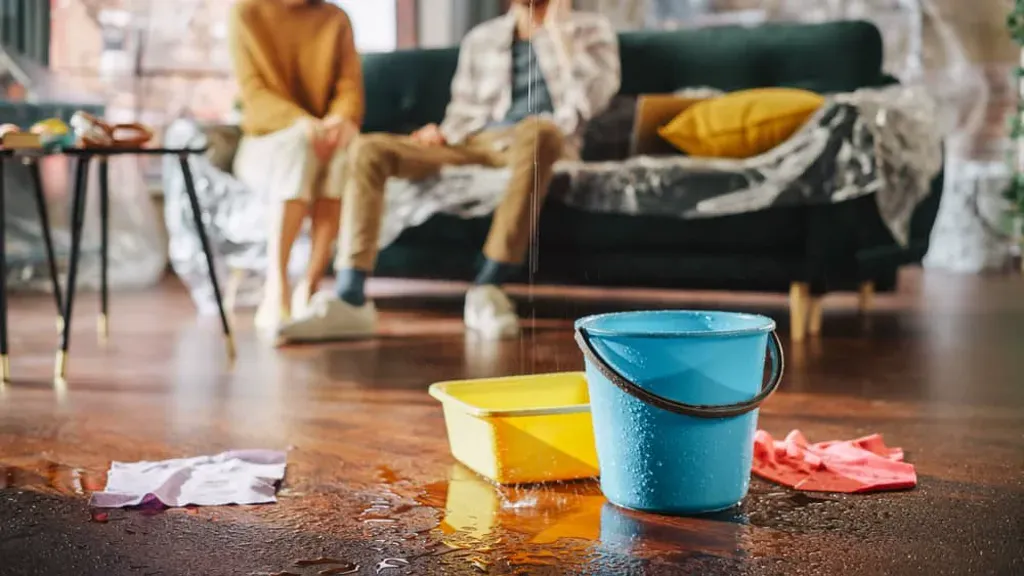
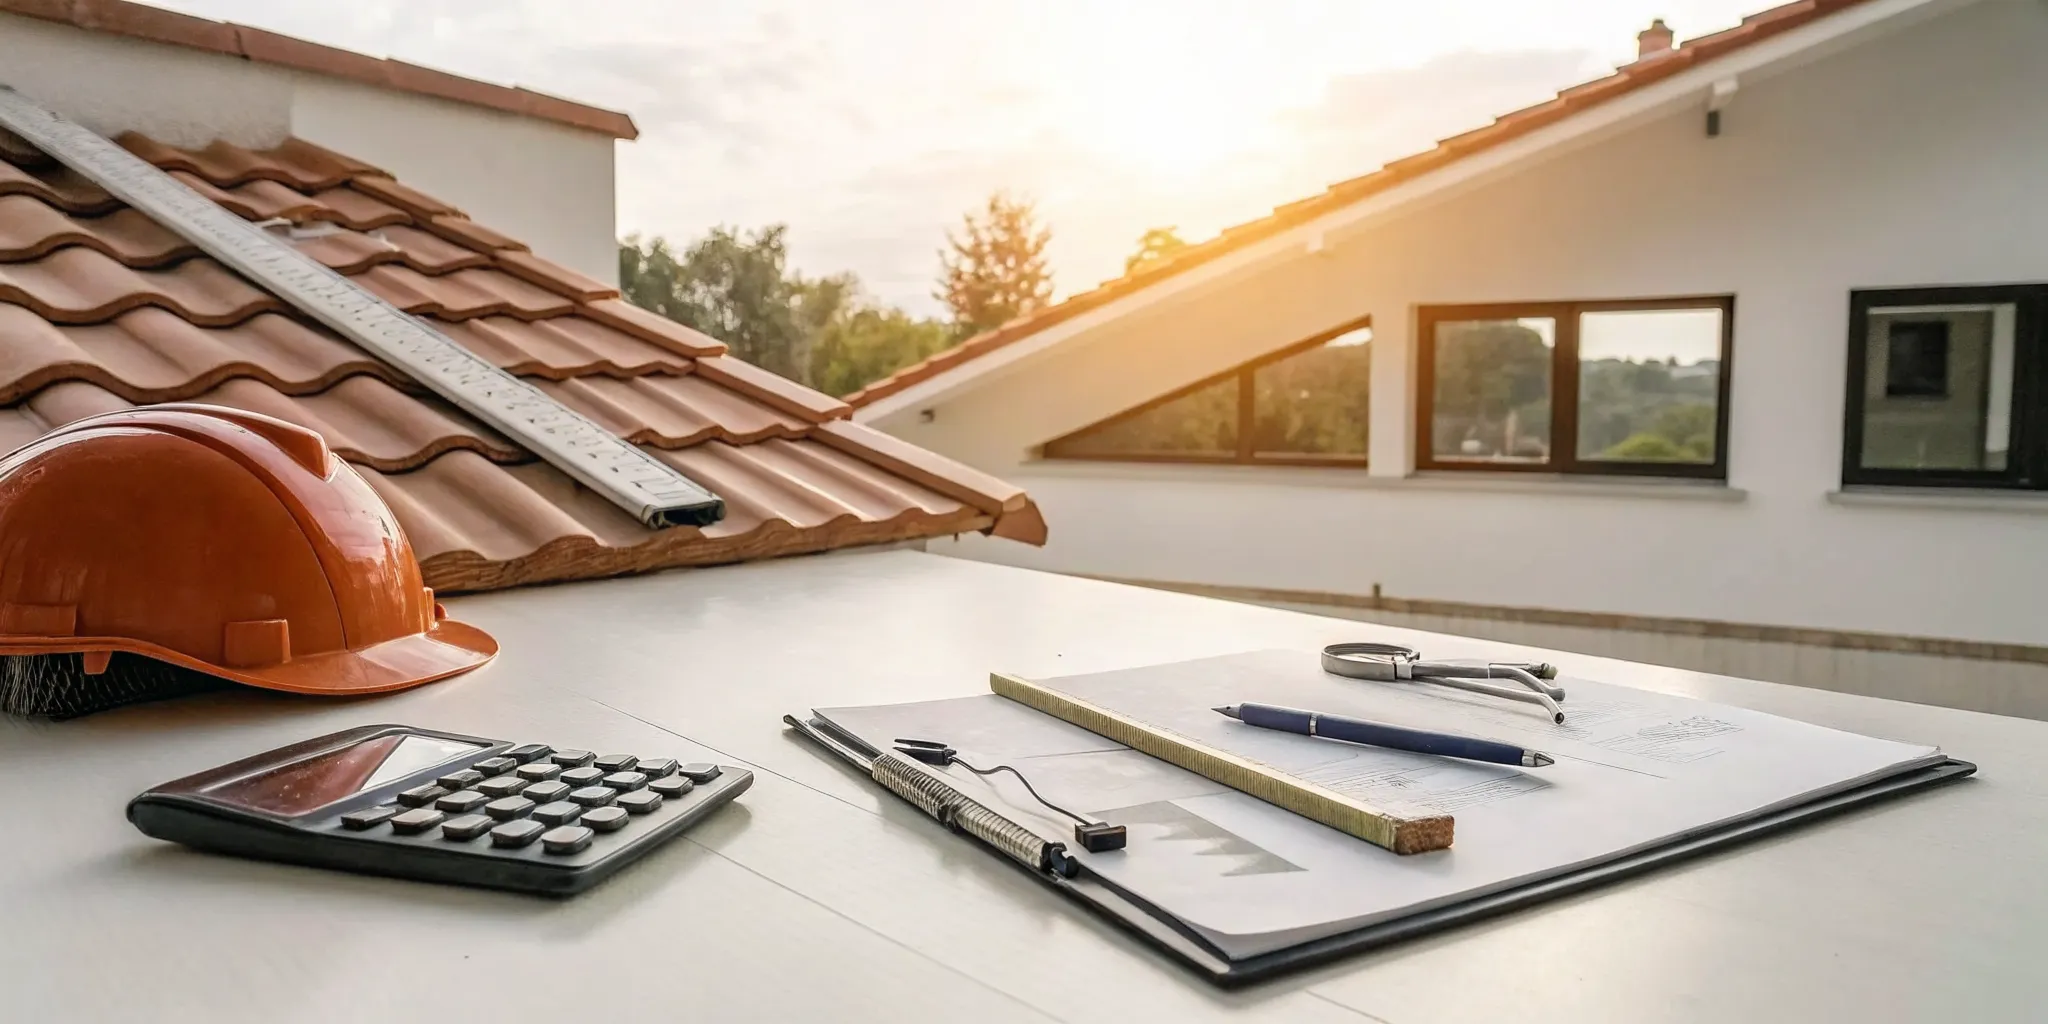
When water is coming from outside due to a storm or a damaged roof, you can’t just turn a valve to stop it. Your focus should shift to containment. Place buckets, pans, or towels to catch dripping water and prevent it from spreading further across your floors. If you notice a leak in your roof, the problem needs a professional fix. After the storm has safely passed, a specialist can assess the damage. Trying to get on a roof during bad weather is extremely dangerous. For now, do what you can to manage the water inside and call for roofing services as soon as it’s safe.
Start Removing Water and Drying Out the Area
Once you’ve stopped the source of the water and the area is safe to enter, your next mission is to get everything dry as quickly as possible. The clock is ticking, because moisture is the main ingredient for mold growth and structural damage. Acting fast can make a huge difference in the extent of the repairs you’ll need. The goal is to remove all standing water and then thoroughly dry the structure and its contents. This process involves a few key steps, from extraction to ventilation.
Safely Extract Standing Water
Your first priority is to remove any standing water. For smaller spills, mops and buckets might do the trick. For more significant flooding, a wet-dry vacuum is an invaluable tool. Work quickly and methodically to extract as much water as you can from floors, carpets, and other surfaces. The faster you can get the bulk of the water out, the less time it has to soak into walls, subfloors, and furniture. Remember to only do this if you are certain the electricity is off in the affected area to avoid any risk of shock.
Get the Air Moving with Fans and Dehumidifiers
After you’ve removed the standing water, the air itself will be heavy with moisture. This is where fans and dehumidifiers come in. Place fans strategically to circulate air across wet surfaces, which helps speed up evaporation. A high-capacity dehumidifier is essential for pulling moisture out of the air, preventing it from settling back into your walls and floors. If the air outside is less humid than inside, you can open windows to help, but in the Florida climate, a powerful dehumidifier is often your best bet for creating a dry environment.
Take Out Wet Furniture and Materials
Some items just can’t be dried in place. You’ll need to remove any waterlogged materials like area rugs, carpet padding, and soaked furniture. Get them out of the house so they can dry elsewhere or be discarded. Porous materials are a magnet for moisture and can quickly become a breeding ground for bacteria and mildew. This is also true for drywall and insulation. Professionals often need to cut away and remove affected drywall, usually up to a few inches above the visible water line, to ensure no hidden moisture is trapped. This proactive step is critical for effective mold remediation.
Open Windows to Improve Airflow
Increasing ventilation is a simple but effective way to support the drying process. Opening windows and doors creates a cross-breeze that helps carry moist air out of your home. This works best when paired with fans to keep the air circulating continuously. However, be mindful of the weather in St. Petersburg. If it’s a particularly humid day, opening windows might let more moisture in than out. In that case, it’s better to close up the house and rely on a dehumidifier. For serious situations, professional water and flood damage teams use specialized, high-powered equipment to dry your home efficiently, regardless of the weather.
Documenting Damage for Your Insurance Claim
After you’ve handled the immediate safety concerns, your next priority is documenting everything for your insurance claim. I know it feels like one more overwhelming task, but trust me, this step is your best tool for getting the financial support you need to recover. Your insurance company will need proof of the damage to process your claim, and the more detailed your evidence is, the smoother the process will be. Think of yourself as a detective building a case. Your photos, lists, and receipts are the evidence that will help you get a fair settlement. Taking the time to do this right can make a huge difference in your water and flood damage recovery journey.
Take Plenty of Photos and Videos
Before you move, clean, or throw anything away, grab your phone and start recording. Take more photos and videos than you think you’ll need. Capture wide-angle shots of every affected room to show the overall scale of the damage. Then, get close-ups of specific items like warped flooring, stained walls, and ruined furniture. If you can safely see the source of the water, be sure to document that as well. A video walkthrough where you talk through what you’re seeing can also be incredibly powerful. This visual evidence is undeniable and will be crucial when you file your claim.
Make a List of Damaged Items
While photos are essential, a detailed written inventory is just as important. Go room by room and create a list of every single item that was damaged. For each item, try to include its description, brand, approximate age, and what you originally paid for it, if you can remember. This includes everything from large furniture and electronics to smaller things like books, rugs, and clothing. This list helps your insurance adjuster understand the total value of your loss and ensures that nothing gets overlooked during the claims process.
Save All Receipts and Records
Create a dedicated folder, either physical or digital, and keep every single receipt related to the water damage. This includes costs for any emergency repairs, cleaning supplies, fans or dehumidifiers you bought, and even hotel stays if you had to leave your home. Also, keep a log of every conversation you have with your insurance company, noting the date, time, and who you spoke with. This paper trail provides a clear financial picture of your out-of-pocket expenses and helps you stay organized throughout the claims process.
Call Your Insurance Company ASAP
Don’t wait to contact your insurance provider. Most policies require you to report damage promptly, so the sooner you call, the better. When you make the call, have your policy number handy, along with the photos and list of damaged items you’ve already prepared. Explain the situation clearly and ask about the next steps, such as when an adjuster will visit. Getting the ball rolling quickly is key to starting the restoration process. Remember, you don’t have to manage the cleanup and repairs alone; a professional team can help you through it, so feel free to contact us for support.
How to Prevent Mold After Water Damage
After you’ve dealt with the initial shock of water damage, your next big challenge is preventing mold. Mold isn’t just an ugly nuisance; it can cause serious health issues and compromise your home’s structure. The key is to create an environment where mold simply can’t thrive. This means acting quickly and being incredibly thorough. By taking the right steps, you can protect your property and your family from the lingering effects of water damage. It’s a race against the clock, but with a clear plan, you can come out ahead.
Act Fast: The First 48 Hours are Critical
Mold spores are always present in the air, just waiting for the right conditions to grow. Unfortunately, a water-damaged home is the perfect environment. Mold can begin to grow on damp surfaces in as little as 24 to 48 hours. This is why your immediate response is so important. The sooner you can start the drying process, the better your chances are of stopping mold before it starts. If the damage is extensive, don’t hesitate to call for professional water damage restoration. Experts can get to work immediately with powerful equipment to remove water and moisture, significantly reducing the risk of a mold problem down the line.
Keep an Eye on Humidity Levels
Getting rid of standing water is only half the battle. The real enemy is the moisture left behind in the air and absorbed by materials like drywall, wood, and carpet. High humidity is a green light for mold growth. To combat this, you need to get the air circulating and pull that moisture out. Open up windows if the weather outside is dry, and run fans to keep air moving across wet surfaces. For best results, use dehumidifiers to actively lower the humidity in the affected rooms. Your goal is to make the environment as dry as possible, as quickly as possible, to prevent a much bigger mold remediation project later.
Clean and Disinfect All Surfaces
Any surface that got wet needs to be cleaned and disinfected, even if it looks clean. This includes walls, floors, and any non-porous items that were in the affected area. You can start by scrubbing surfaces with a non-ammonia detergent and water. After cleaning, apply a disinfectant to kill any lingering mold spores. For porous materials like drywall, insulation, and carpet that have been saturated, removal is often the safest bet. These materials are nearly impossible to dry out completely and can become a breeding ground for hidden mold. Always wear protective gear like gloves and a mask during this process.
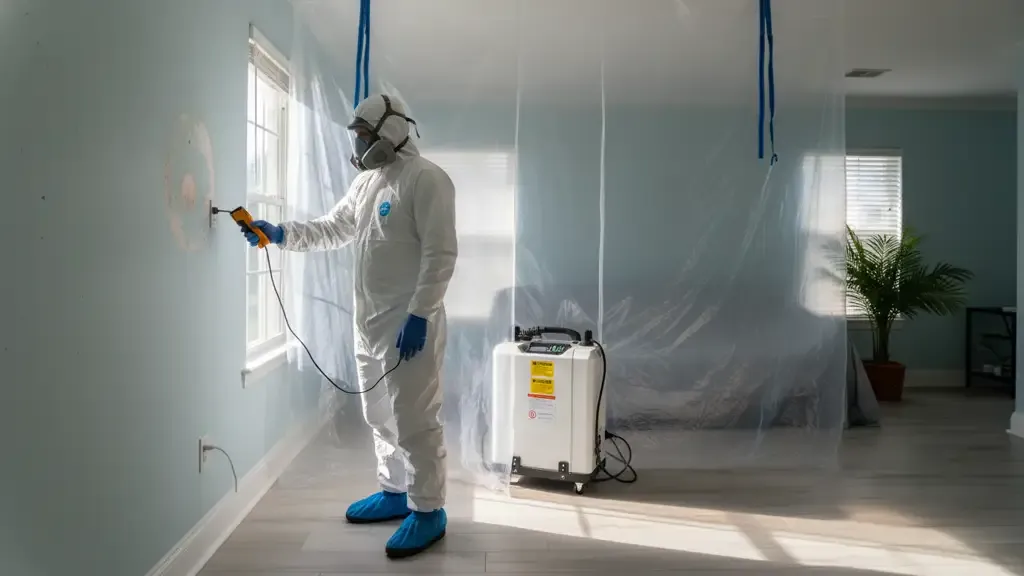
Check for Hidden Moisture
One of the trickiest parts of preventing mold is finding the moisture you can’t see. Water is sneaky; it can seep behind baseboards, under flooring, and into wall cavities. Just because a surface feels dry to the touch doesn’t mean the area is safe. This is where professional expertise makes a huge difference. We use specialized tools like moisture meters and thermal imaging cameras to detect hidden pockets of water that would otherwise go unnoticed. Finding and drying these hidden spots is essential for preventing a mold colony from taking root inside your walls. If you have any doubt, it’s always best to get a professional assessment.
When to Call a Professional
Tackling a small spill with a mop and bucket is one thing, but significant water damage is a completely different challenge. While the instinct to handle things yourself is understandable, some situations are too big or too risky to manage alone. Knowing when to step back and call for help is one of the most important decisions you can make to protect your home and your health. Trying to dry out a saturated room with household fans or missing a pocket of moisture behind a wall can lead to much bigger problems down the road, like wood rot, crumbling drywall, and persistent mold growth.
Professional restoration teams have the training, equipment, and experience to handle these complex problems safely and effectively. They can see things you might miss, like hidden moisture that could lead to mold or structural issues that could compromise your home’s integrity. If you’re standing in a few inches of water or looking at a spreading ceiling stain and feel overwhelmed, that’s a clear sign it’s time to bring in an expert for water and flood damage restoration. They can take control of the situation, giving you peace of mind and a clear path forward.
Signs You Need an Expert Right Away
Not sure if your situation warrants a professional? There are a few clear indicators that it’s time to pick up the phone. If the water damage is extensive and has soaked into structural parts of your home like drywall, ceilings, or flooring, you need an expert. Another major red flag is the potential for mold. If you see or smell mold, or if the area has been damp for more than 48 hours, a professional mold remediation team is essential. Finally, if the water is from a contaminated source, like a sewage backup or floodwaters, it’s a serious health hazard that requires professional handling.
The Benefits of Calling a Pro
When you call a professional restoration company, you’re getting more than just an extra set of hands. You’re getting access to specialized equipment and deep expertise. Professionals use industrial-grade air movers, dehumidifiers, and moisture meters to dry your home completely and check for hidden damage you can’t see. They have the experience to handle tough jobs efficiently, preventing long-term issues like rot and mold. Their thorough approach ensures your home is not just dry, but also safe and structurally sound. This level of care is something a DIY cleanup simply can’t match.
What to Expect When You Call Go Time Restoration
When you call us, you can expect a fast, professional, and compassionate response. We know you’re going through a stressful time, so our goal is to make the process as smooth as possible. Our team will arrive quickly to assess the damage, explain every step of the restoration plan, and get to work removing water and drying everything out. We pride ourselves on clear communication and meticulous work, ensuring we leave your home clean, dry, and secure. If you’re facing water damage, don’t hesitate to contact us for immediate help.
Common Mistakes to Avoid After Water Damage
When you find water in your home, your first instinct is to fix it fast. While that urgency is important, acting without a clear plan can sometimes make things worse. Knowing what not to do is just as critical as knowing your next steps. Avoiding these common missteps can save you time, money, and a lot of future headaches by ensuring the restoration process is done right from the start.
Don’t Wait to Take Action
The single biggest mistake you can make is waiting. Water damage is not a problem that gets better on its own; it escalates quickly. Within just 24 to 48 hours, the damp, warm environment becomes a perfect breeding ground for mold, which can introduce serious health risks. Meanwhile, water will continue to seep into drywall, warp floorboards, and compromise your home’s structural integrity. Acting fast is the best way to minimize the damage. If you’re facing a leak or flood, your first call should be to a professional water damage restoration team who can get started immediately.
Don’t Underestimate Your Insurance Policy
After ensuring everyone is safe, your next call should be to your insurance agent. Many homeowners delay this step, but it’s essential to get the claims process started right away. Before you move anything, document everything. Use your phone to take extensive photos and videos of the affected areas and all damaged belongings. This visual evidence is vital for your claim. Create a detailed list of everything that was damaged, from furniture to electronics. A thorough inventory of your losses will make your insurance claim much smoother and help ensure you get the coverage you’re entitled to.
Don’t Try DIY Repairs You Can’t Handle
It’s tempting to roll up your sleeves and tackle the cleanup yourself, but some jobs are best left to the experts. While you can certainly handle sopping up a small spill, significant water damage requires professional equipment and expertise. Improperly drying an area can leave behind hidden pockets of moisture that lead to mold growth and structural rot. Professionals use specialized tools to ensure every last bit of moisture is gone. Trying to handle a major issue on your own can put both your property and your health at risk. Understanding the full scope of available restoration services can help you decide when to call for backup.
Don’t Ignore Hidden Damage
What you can see is often only a fraction of the problem. Water is sneaky; it travels behind walls, under floorboards, and into insulation, causing damage you might not notice until weeks or months later. This hidden moisture is a primary cause of long-term issues, including stubborn mold infestations that can be difficult to remove. Professionals use tools like moisture meters and thermal imaging cameras to find exactly where the water has gone. A thorough inspection is the only way to be certain all affected materials are identified and properly dried or removed, preventing the need for future mold remediation.
Your Plan for Long-Term Recovery and Prevention
Once the water is gone and the fans are off, it’s tempting to breathe a sigh of relief and move on. But the final, and arguably most important, phase of water damage recovery is all about looking ahead. Creating a plan for long-term recovery and prevention ensures your home remains safe and helps you avoid a repeat disaster. Taking a few extra steps now will protect your property and your peace of mind for years to come.
Schedule a Follow-Up Inspection
After the initial cleanup, it’s wise to have a professional come back for a follow-up inspection. Even if your home looks and feels completely dry, moisture can hide in wall cavities, under floorboards, or in your home’s foundation. A professional assessment can also identify potential issues with your electrical systems that may have been compromised by water. This step isn’t about looking for trouble; it’s about confirming your home is structurally sound and safe for your family. Think of it as the final seal of approval on your recovery efforts. If you need an expert eye, our team can provide a thorough post-restoration assessment.
Take Steps to Prevent Future Damage
The best way to handle water damage is to prevent it from happening in the first place. You can start by regularly checking pipes, appliance hoses, and connections for any signs of leaks or wear. Since we live in an area prone to heavy rain and flooding, installing a sump pump can be a game-changer for your basement or crawl space. It’s also important to keep your gutters clear of debris and ensure downspouts direct water far away from your home’s foundation. These simple, proactive measures are part of a smart disaster recovery plan that can save you from future headaches and costly repairs.
Keep Up with Home Maintenance
Consistent home maintenance is your first line of defense against water damage. Small, routine checks can help you catch a minor issue before it becomes a full-blown emergency. Taking immediate and correct action on something as simple as a small leak can prevent long-term problems like mold growth and serious structural damage. Understanding the weak points in your home, like an aging roof or old plumbing, allows you to address them proactively. By staying on top of maintenance, you’re not just fixing things; you’re investing in the long-term health and safety of your home. Our water damage restoration experts can help you identify areas that may need attention.
Related Articles
- Water Damage Restoration: Your Guide to DIY vs. Pro
- How to Find the Best Water Damage Restoration Company
- St. Pete’s Top 5 Water Damage Restoration Services
Frequently Asked Questions
What’s the absolute first thing I should do if I find water damage? Before you do anything else, pause and make sure the area is safe to enter. Look for sagging ceilings or electrical hazards like submerged outlets. If it’s safe, your next two steps are to shut off the electricity to the affected rooms at the breaker box and then stop the source of the water, which often means turning off your home’s main water valve. Safety always comes before saving any belongings.
How can I tell if the water damage is serious enough to call a professional? You should call for help if the water has soaked into structural materials like drywall, subflooring, or insulation. Other clear signs are if the affected area is larger than a small room, if the water is from a contaminated source like a sewer line, or if the area has been wet for more than 24 hours. When in doubt, getting a professional assessment is the safest choice to prevent long-term problems.
How quickly does mold grow, and what can I do to stop it? Mold can start growing in as little as 24 to 48 hours in a damp environment. The most effective way to prevent it is to get the area completely dry as fast as possible. After removing standing water, use fans and a dehumidifier to pull moisture from the air and surrounding materials. For porous items like carpet padding or drywall that got soaked, removal is often the best way to prevent a hidden mold problem.
Should I wait for my insurance adjuster before I start cleaning or moving things? No, you shouldn’t wait. Most insurance policies require you to take reasonable steps to prevent further damage. Your first step should be to thoroughly document everything with photos and videos. Once you have that evidence, you can start moving valuables to a dry place and begin removing water. This shows your insurance provider that you are acting responsibly to mitigate the loss.
Is it safe to use a regular vacuum or my household fans in a flooded area? Absolutely not, unless you are 100% certain the power is off. Using any standard electrical appliance while standing in or near water is extremely dangerous and creates a risk of electric shock. You should only use a wet-dry vacuum that is specifically designed for water extraction. Even then, your first step should always be to cut the power at the circuit breaker before plugging anything in.