Finding mold in your home feels a lot like a warning light flashing on your dashboard. That visible patch is just a symptom; the real problem is the hidden moisture feeding it. A professional doesn’t just wipe the surface clean. They fix the root cause—a leaky pipe, a roof issue, you name it. This thorough approach is reflected in the price. To help you budget, we’ll break down the typical mold removal cost in St. Petersburg, including factors like water damage repair, so you know exactly what it takes to solve the problem for good.
Key Takeaways
- Know What Shapes the Cost: The final price for mold removal is based on the size of the problem, its location (hidden mold is more complex to access), and any repairs needed to fix the original water source.
- Always Choose Professional Removal: Trying to remove black mold yourself can spread spores and create a bigger issue; a professional service is essential for safe containment, thorough removal, and addressing the root cause.
- Make Prevention a Habit: Keeping mold away for good means controlling moisture, so use dehumidifiers and fans, fix leaks right away, and regularly check under sinks and around windows to stop new growth before it starts.
What Is Black Mold and Why Does It Love St. Pete?
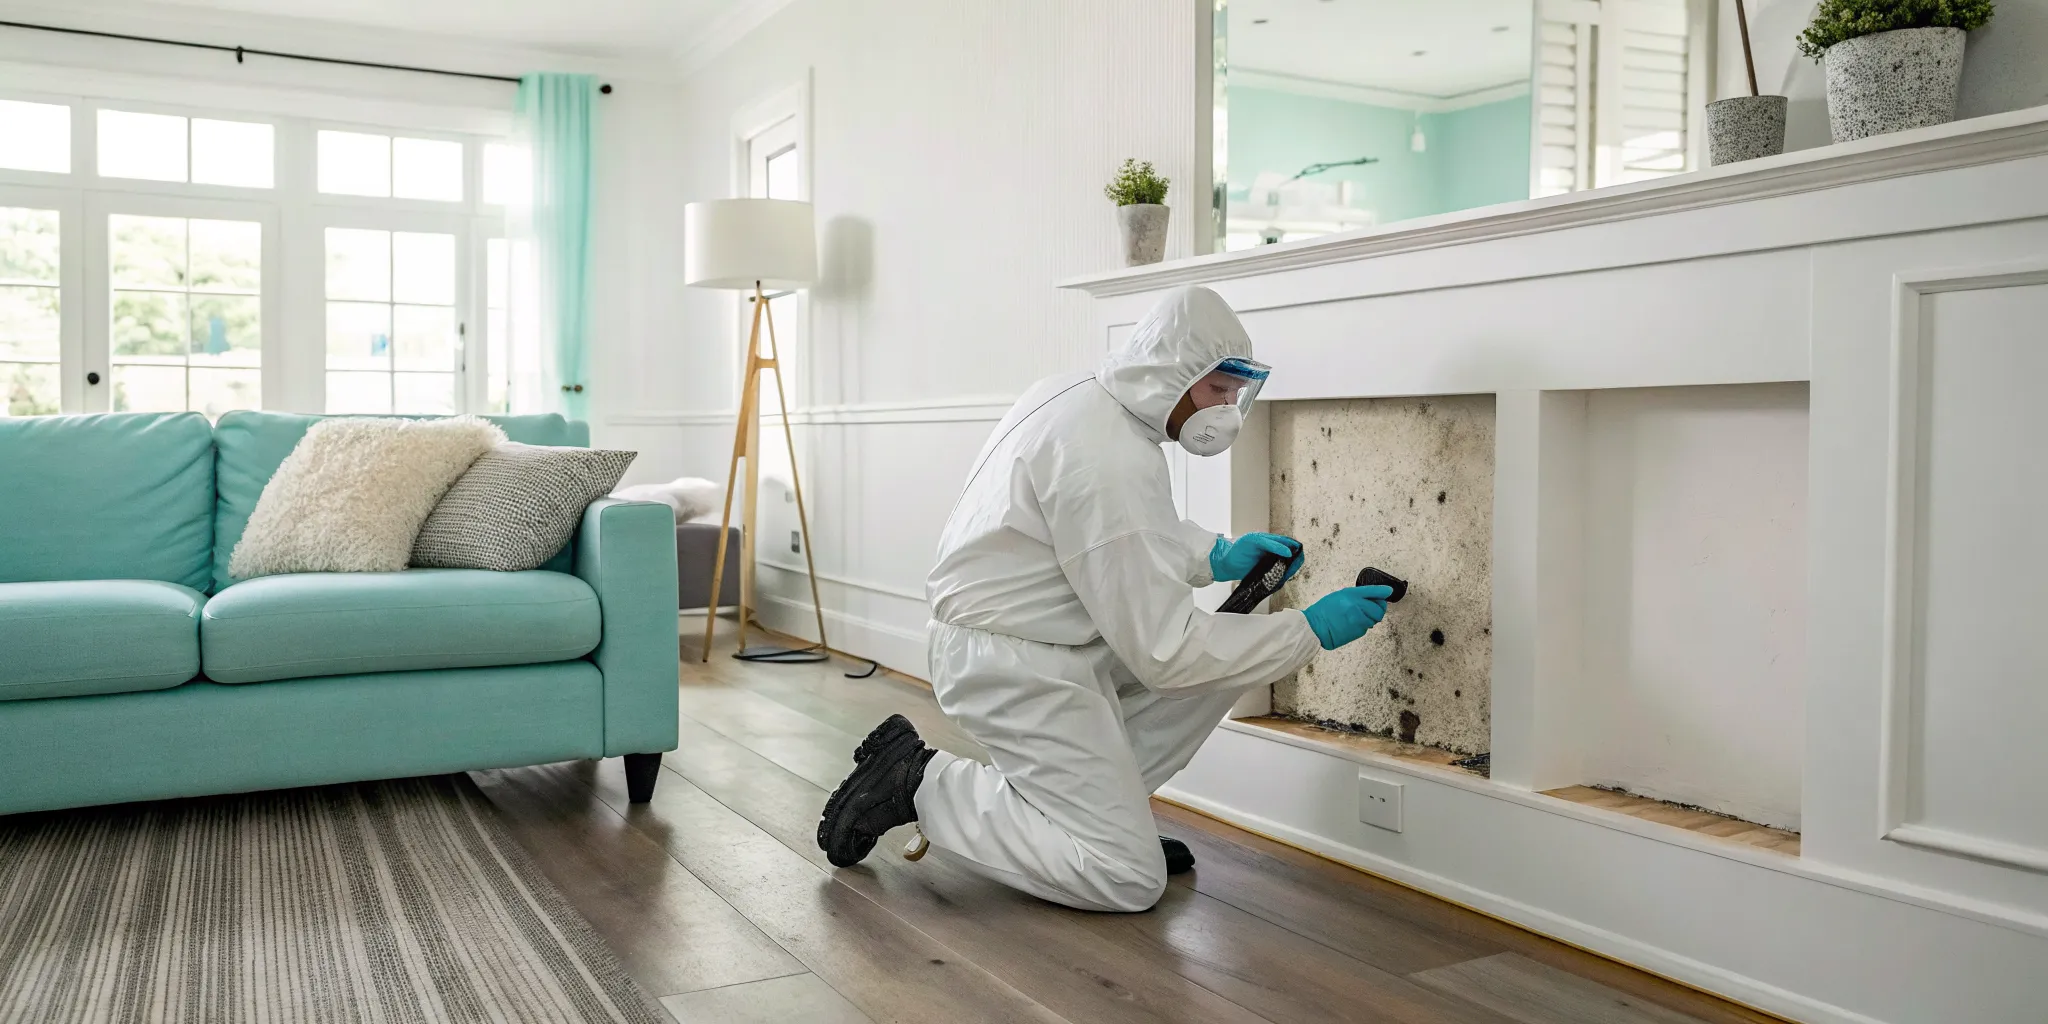
“Black mold” is a term that often brings a sense of panic, and for good reason. Scientifically known as Stachybotrys chartarum, this fungus appears as slimy, dark greenish-black patches and carries a distinct, musty odor. But seeing it on your wall is more than just an aesthetic issue; it’s a major red flag. Black mold only grows where there is a constant source of moisture, meaning its presence points to a bigger problem like a hidden pipe leak, a failing roof, or persistent condensation that you might not even know about.
Here in St. Petersburg, our humid, subtropical climate creates the ideal breeding ground for mold. The combination of warmth and moisture in the air means that once mold finds a damp spot in your home, it can spread quickly. It feeds on common household materials like drywall, wood, and ceiling tiles, and if left unchecked, it can cause serious structural damage over time. Beyond the physical damage to your property, which can affect its value, the primary concern is the potential impact on your family’s health. Tackling a mold problem isn’t just about cleaning a surface; it’s about protecting your home and the people inside it.
Is Black Mold Affecting Your Health?
Black mold releases spores into the air, and when inhaled, they can cause a range of health issues. For many people, the symptoms are similar to seasonal allergies: persistent coughing, sneezing, itchy eyes, a runny nose, and skin rashes. It can feel like you have a cold that just won’t go away. These reactions can be disruptive and uncomfortable, affecting your quality of life at home, which should be your safest space.
The health risks are even greater for children, the elderly, and anyone with existing respiratory conditions like asthma or a compromised immune system. For these individuals, exposure can trigger more severe reactions, including difficulty breathing and other serious respiratory problems. Because of these potential health effects, it’s crucial to take any sign of mold seriously. Professional mold remediation isn’t just about cleaning a stain; it’s about restoring a healthy living environment for your family.
Why St. Petersburg Is a Hotspot for Mold
Living in St. Petersburg means enjoying beautiful sunshine and warm weather, but it also means dealing with high humidity and frequent, heavy rains. Unfortunately, this is the perfect recipe for mold growth. Mold loves three things: moisture, warmth, and a food source (like drywall or wood). Our local climate provides the first two in abundance, making our homes particularly vulnerable.
This constant humidity means that even small water intrusions can become big problems. A minor leak from a storm, condensation from your AC unit, or a slow drip under a sink can create the damp environment mold needs to flourish. Because the air is already so moist, wet materials take much longer to dry out on their own. This gives mold spores plenty of time to settle in and start growing. This is why prompt water damage restoration is so critical in our area to prevent mold from taking hold in the first place.
How Quickly Can Mold Grow?
It’s shocking how fast mold can appear. Many people assume it takes weeks of neglect, but in reality, mold can begin to grow in as little as 24 to 48 hours after a water incident. Think about a damp towel left in a pile—it gets that musty smell quickly, right? The same principle applies to your home’s building materials. Once drywall, wood, or insulation gets wet and stays wet, it becomes a perfect breeding ground. In our humid St. Pete climate, this process is even faster because the air itself doesn’t help things dry out. This rapid timeline is why you can’t afford to wait and see. A small leak today can become a visible mold colony by the weekend, turning a simple cleanup into a much more involved mold remediation project.
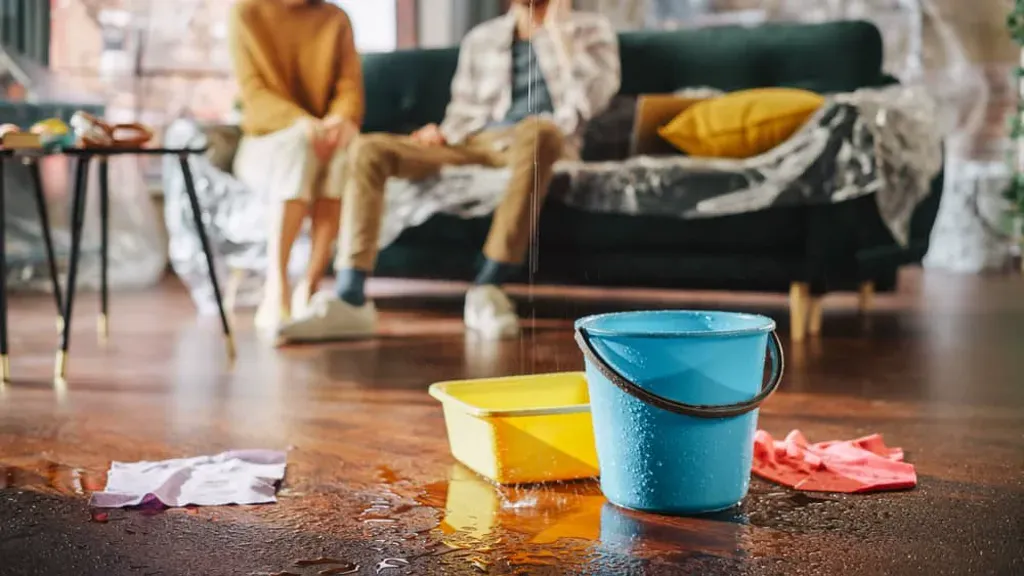
The 24-72 Hour Window After Water Damage
That first 24 to 72 hours after water damage is absolutely critical. Within the first day, mold spores that are already present in the air can settle onto damp surfaces and begin to germinate. You won’t see them yet, but the clock has started ticking. By the 48- to 72-hour mark, these spores can develop into visible colonies. What started as a minor water spot can now appear as fuzzy patches of black, green, or white mold. According to restoration experts, mold can start growing within 24 hours, and the longer you wait, the more it spreads. This is why an immediate response is your best defense. Calling for professional water damage restoration right away allows experts to dry out the structure completely, stopping mold before it ever gets a chance to take hold.
What’s the Real Cost of Mold Removal in St. Petersburg?
Understanding the cost of black mold removal is one of the first steps to getting your home back to normal. In St. Petersburg, the price can vary quite a bit depending on how much mold there is, where it’s located, and what kind of materials are affected. While every situation is unique, we can break down the typical costs based on the size of the problem. This will give you a clearer picture of the potential investment required for a safe, professional, and lasting solution.
Understanding National Average Costs
While every mold problem is unique, looking at national averages can give you a solid starting point for budgeting. According to industry data, homeowners typically spend around **$2,368** for mold remediation, with most projects landing between **$1,223 and $3,753**. The final price tag depends on the size of the infestation, its location (think tricky spots like inside walls), and what kind of repairs are needed to fix the original moisture source. For instance, a smaller job might cost as little as **$500**, while a whole-house remediation could range from **$10,000 to $30,000**. Remember, these are just benchmarks. The only way to get a precise cost for your St. Pete home is to have a professional assess the specific damage. A trusted team like Go Time Restoration can give you a clear, detailed quote so you know exactly what to expect.
Cost Breakdown: Small Areas (Under 100 sq ft)
For a small, contained mold issue, like a patch on a bathroom wall or a spot under a leaky sink, you’re looking at a smaller-scale project. These jobs typically cover an area under 100 square feet. The cost for professional removal in these cases often starts around $500 for very simple jobs. However, a more realistic range is between $1,000 and $3,000. The final price depends on the complexity; for example, if the mold is only on the surface versus having penetrated drywall, which would require removal and replacement of materials.
Cost Breakdown: Medium Areas (100-500 sq ft)
When mold affects a larger area, such as a significant portion of a room, a crawl space, or an attic, the scope of the work increases. For these medium-sized jobs, which typically fall between 100 and 500 square feet, you can expect the cost to be somewhere between $1,500 and $4,000. This price reflects the need for more extensive containment to prevent spores from spreading, as well as more labor and equipment. This level of infestation often points to a more persistent moisture problem that needs to be addressed as part of the overall mold remediation plan.
Cost Breakdown: Large Infestations (500+ sq ft)
A large mold infestation covering more than 500 square feet is a serious issue that requires a comprehensive response. This often involves multiple rooms or an entire level of a home. Costs for these extensive projects can range from $4,000 to $10,000 or even more. Such widespread growth is almost always linked to a major event, like significant flooding or a long-term, undiscovered leak. In these cases, the remediation process is complex and may include major structural repairs alongside the water damage restoration needed to fix the source of the problem.
What About Inspection and Testing Fees?
Before any removal work begins, a professional inspection and testing are crucial. This is not part of the removal cost itself but is a necessary preliminary step. In the St. Petersburg area, you can expect inspection and testing fees to range from $300 to $800. This service confirms the presence and type of mold, assesses the extent of the spread (even in hidden areas), and helps the professionals create an accurate and effective plan for removal. Think of it as the diagnostic phase that ensures the treatment will be successful.
Is Mold Testing Always Required?
While mold testing isn’t a strict requirement for every single situation, it’s a step we strongly recommend for a truly effective solution. If you can see visible mold, you already know you have a problem that needs to be addressed. However, testing provides critical information that a visual inspection alone can’t. It helps identify the specific type of mold you’re dealing with and, more importantly, reveals the concentration of spores in the air. This is key for assessing the full scope of the contamination, especially in areas you can’t see, like behind walls or in your HVAC system. This data allows professionals to create a precise and comprehensive mold remediation plan, ensuring that the problem is completely resolved and not just temporarily cleaned up.
What Factors Affect Your Final Mold Removal Cost?
Pinning down a single price for mold removal is tricky because every situation is unique. The final cost on your invoice depends on several key variables that professionals assess during an inspection. The scope of the work, the location of the mold, and the extent of any related damage all play a significant role in determining the total investment required to make your home safe again. Knowing what these factors are can help you understand your estimate and prepare for the process.
The Size and Spread of the Mold Growth
It makes sense that the more mold you have, the more it will cost to remove. A small, contained patch of mold is a much simpler job than a widespread infestation that has taken over a large area. For minor jobs, you might see costs starting around $500. However, most typical mold remediation projects fall between $1,500 and $6,000. In severe cases, especially after significant flooding or long-term water damage, the cost can exceed $10,000 due to the sheer volume of contaminated materials that need to be addressed and the extensive labor involved.
Does the Mold’s Location Change the Price?
The location of the mold is another major cost driver. If the growth is on an easily accessible surface, the job is relatively straightforward. But if mold is hiding inside walls, under floorboards, or within your HVAC system, the project becomes more complex. Technicians will need to perform careful demolition to access and remove the mold, which increases labor time and costs. Dealing with hidden mold can cost up to $25 per square foot, as it requires not just removal but also the eventual repair of the structures that were opened up. This complexity is a key reason why a professional inspection is so important.
Attic Mold Removal Costs
Your attic can be a perfect storm for mold, especially here in Florida. Heat, humidity, and poor ventilation create a welcoming environment, and a small, undetected roof leak can provide the moisture needed for mold to thrive. Because attics are often difficult to access and can involve working around insulation and complex structures, professional removal costs typically range from $1,000 to $4,000. This price reflects the challenges of safely containing and removing the mold from a tight, enclosed space. Often, attic mold is the first sign of a problem with your roof, so addressing the source is a critical part of the solution to prevent it from coming back.
Bathroom Mold Removal Costs
It’s no surprise that bathrooms are a common spot for mold. With all the steam from showers and potential for small leaks, moisture is almost always present. For mold removal in a bathroom, costs generally fall between $500 and $1,000. While the affected area is usually smaller, the work requires meticulous cleaning around fixtures, tile, and grout. It’s important to remember that even a small patch of mold could signal a bigger issue, like a hidden leak behind the wall. A professional will not only clean the visible mold but also identify the moisture source to ensure the problem is fully resolved.
Crawl Space and HVAC System Costs
Crawl spaces and HVAC systems are two areas where mold can grow unnoticed and cause significant problems. A damp, dark crawl space is an ideal breeding ground, and remediation can cost between $500 and $2,000, depending on how easy it is to access and the extent of the growth. Mold in your HVAC system is even more concerning because it can circulate spores throughout your entire home every time the air kicks on. Cleaning an HVAC system is a complex job, with costs ranging from $3,000 to $10,000, as it involves cleaning the ductwork and components to ensure your air is safe to breathe again.
Whole-House Remediation Costs
When mold has spread throughout your home, you’re looking at a whole-house remediation project. This situation usually follows a major water event like a flood or a long-term, severe leak. The cost for this comprehensive approach can range from $10,000 to $30,000 or more. This isn’t just about cleaning; it’s a full-scale restoration project that addresses widespread contamination and the underlying structural and moisture issues. This level of intervention is a significant investment, but it’s necessary to ensure every corner of your home is safe and to prevent future growth, often requiring complete disaster recovery services to bring your property back to its pre-damage condition.
The Hidden Costs of Water Damage Repair
Mold doesn’t just appear on its own; it’s a symptom of an underlying moisture problem. A critical part of any professional mold removal job is identifying and fixing the source of that moisture. If a leaky pipe or a damaged roof caused the mold, that issue must be repaired to prevent it from returning. Furthermore, the water itself can cause significant harm. Any materials like drywall, insulation, or flooring damaged by water and flood damage will need to be repaired or replaced. This necessary restoration work can potentially add 30% to 50% to your total project cost.
How Severe Is the Mold Problem?
Finally, the type of mold affects the price. Certain species, like Stachybotrys chartarum (commonly known as black mold), are toxigenic and require a higher level of care during removal. To protect both your family and the remediation team, professionals use specialized containment methods and personal protective equipment (PPE). These stringent safety protocols are necessary but can increase the project cost by 15% to 25%. As a general baseline, you can expect mold removal to cost between $10 and $25 per square foot, with the final price depending on the severity of the growth and the safety measures required.
The Impact of Mold on Your Property Value
When you think about your home’s value, you probably consider things like location and square footage. But a mold problem can seriously undermine that value, turning off potential buyers before they even make an offer. It’s more than just an unsightly stain; it’s a major red flag for structural issues and health concerns. Mold actively eats away at materials like drywall and wood, which can weaken your home’s integrity. For a buyer, seeing mold suggests hidden, expensive problems and potential health risks for their family, from allergies to more serious respiratory issues. Ignoring it doesn’t make it go away; it only allows the damage to worsen, making professional mold remediation a crucial step in protecting one of your biggest investments.
The Professional Mold Removal Process, Explained
Finding mold in your home is stressful, but knowing what a professional team does to fix it can bring a lot of peace of mind. The process isn’t just about scrubbing away the visible spots; it’s a systematic approach to ensure the mold is gone for good and your home is safe and healthy again. A professional mold remediation service follows a clear, multi-step plan to tackle the problem from the source. From the initial assessment to the final air quality check, each stage is designed to be thorough and effective. It’s a process that prioritizes not just removal, but also the safety of your home and family throughout the project. Here’s a step-by-step look at what you can expect when you call in the experts.
Step 1: Inspecting and Finding the Water Source
The first thing a professional team will do is a detailed inspection. They need to understand the full scope of the problem, including what type of mold you have and how far it has spread. More importantly, they act like detectives to find the underlying moisture source that allowed the mold to grow in the first place. Whether it’s a leaky pipe, a roof issue, or high humidity, this step is critical. Simply cleaning the mold without fixing the water problem is a temporary fix at best. A thorough assessment ensures the remediation plan will be effective and prevent the mold from returning.
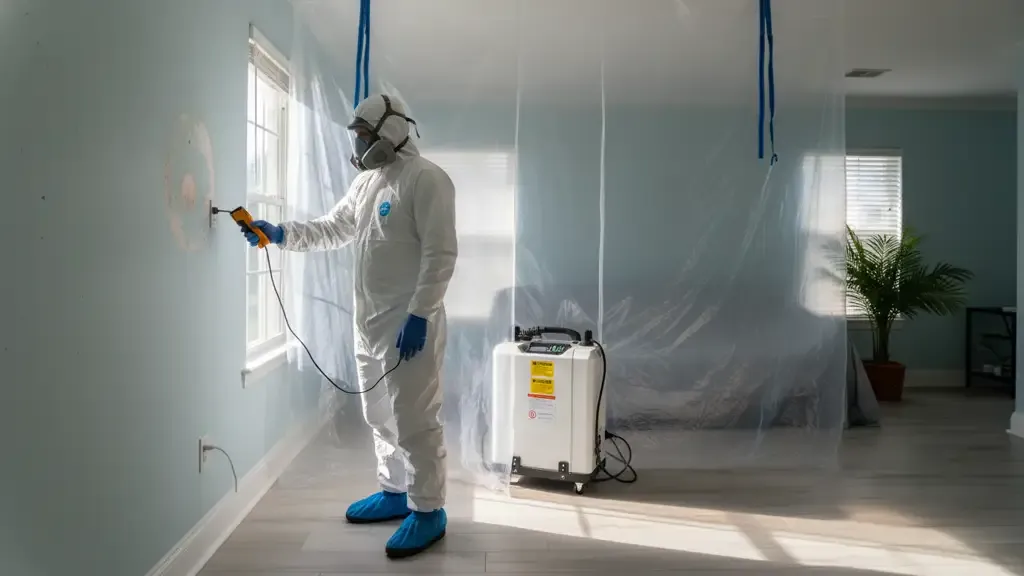
Step 2: Containing the Area and Ensuring Safety
Once the team understands the situation, their next priority is to prevent the mold from spreading. During removal, mold spores can easily become airborne and travel to other parts of your home. To stop this, professionals set up containment barriers, often using plastic sheeting and negative air pressure machines to create a sealed work zone. This is like creating a quarantine area for the mold. This crucial safety protocol protects the air quality in the rest of your house and ensures the problem stays confined to the affected area, keeping you and your family safe during the process.
Step 3: Removing Mold and Sanitizing Surfaces
With the area contained, the actual removal begins. Professionals use specialized equipment and techniques to get rid of the mold. This often involves removing porous materials that are contaminated, like drywall, insulation, or carpet. For non-porous surfaces, they use antimicrobial treatments to clean and disinfect the area, killing any remaining mold spores. They may also use advanced tools like thermal imaging cameras to find hidden moisture pockets you can’t see. This comprehensive approach to disaster recovery services ensures that all mold is physically removed and the underlying issues are addressed.
Step 4: Verifying Air Quality After Removal
After the cleaning and removal are complete and the area is totally dry, the job isn’t quite finished. A reputable company will want to verify that the remediation was successful. This often involves a final inspection and, in some cases, an air quality test. This check confirms that the mold spore levels in your home have returned to a normal, healthy baseline. It’s the final step that gives you documented proof and complete confidence that your home’s air is clean and the environment is safe again. If you have any questions about the process, you can always contact us for answers.
Should You Try DIY Black Mold Removal?
When you spot mold in your home, your first instinct might be to grab some bleach and a scrub brush. It’s a common reaction; we all want to solve problems quickly and save a little money. But when it comes to black mold, a DIY approach can often create more problems than it solves. Before you tackle that patch of mold yourself, it’s important to understand the risks involved and when it’s truly better to leave it to the experts. The safety of your home and family is the top priority, and sometimes, the smartest move is calling for professional help.
The Hidden Dangers of DIY Removal
Trying to remove black mold on your own can be a risky decision. When you scrub or disturb mold, you can accidentally release millions of tiny spores into the air. These spores can travel through your HVAC system and settle in other areas of your home, turning a small, contained problem into a widespread one. This not only makes the contamination worse but can also expose your family to potential health issues. A professional mold remediation team uses specialized equipment to contain the area, preventing cross-contamination and ensuring the air in your home remains safe to breathe throughout the process.
Essential Safety Gear for DIY Projects
If you’re determined to handle a very small, contained spot of mold (think smaller than your hand), protecting yourself is not optional. This isn’t a regular cleaning job; you need personal protective equipment (PPE) to shield yourself from airborne spores. At a minimum, you’ll need an N95 respirator to filter out microscopic spores, non-porous gloves to protect your skin, and safety goggles to keep spores out of your eyes. It’s also wise to wear old clothing or disposable coveralls that you can remove immediately after you’re done to avoid tracking spores through your house. This level of precaution is standard for any professional mold removal project because the health risks are significant, and it highlights why tackling anything more than a tiny area is a job best left to trained experts with full containment systems.
When to Call a Professional Instead
A good rule of thumb is to call a professional if the mold patch is larger than 10 square feet (roughly a 3-foot by 3-foot area). You should also call for help immediately if you find mold on porous materials like drywall, insulation, or wood. Mold can grow deep into these surfaces, and simply cleaning the top layer won’t solve the underlying issue. Professionals have the tools and expertise to address deep-seated mold and fix the moisture source causing it. If you’re unsure about the size or severity of your mold problem, it’s always safest to contact us for an assessment.
DIY vs. Professional: A Cost Comparison
While a DIY kit might seem cheaper upfront, the costs can add up quickly. You could spend a few hundred dollars on safety gear and cleaning supplies for a very small, surface-level job. However, if the attempt fails and spreads the mold, you’ll face much higher costs later. Professional mold removal typically costs between $10 and $25 per square foot. While the total can range from several hundred to several thousand dollars depending on the job’s scale, you’re paying for a complete solution. This includes containment, safe removal, and addressing the moisture problem to prevent regrowth, giving you lasting peace of mind.
DIY Cleaning and Sealing Techniques
If you’ve assessed the situation and are still considering a DIY approach for a very small, surface-level mold spot (less than 10 square feet), it’s critical to use the right methods. Simply scrubbing with soap and water won’t cut it, and using bleach is often ineffective and can be hazardous. Proper DIY treatment involves not only cleaning the mold but also taking steps to prevent it from coming back. This means using effective products to kill the spores and then sealing the cleaned surface to block out future moisture. These techniques require careful attention to detail and a strong emphasis on safety from start to finish.
Using Products Like Concentrated Peroxide Serums
Instead of reaching for bleach, many effective DIY mold cleaners use concentrated hydrogen peroxide. These serums work as powerful oxidizing agents that can kill mold on various surfaces. Research has even shown that hydrogen peroxide can be an effective disinfectant against mold and mildew without leaving behind toxic residues. When using these products, safety is paramount. You must ensure the area is well-ventilated by opening windows and using fans. Always wear protective gear, including non-porous gloves, safety goggles, and a respirator mask, to protect your skin, eyes, and lungs from both the chemical fumes and any disturbed mold spores.
Sealing Wood Surfaces to Encapsulate Spores
After you’ve thoroughly cleaned and dried a mold-affected wood surface, the job isn’t finished. The next step is to seal, or encapsulate, the area. This involves applying a special sealant that traps any microscopic spores left behind and creates a moisture-proof barrier. Studies on mold remediation confirm that using a high-quality encapsulant significantly reduces the risk of mold returning, especially in humid-prone areas like our St. Pete attics and crawl spaces. This final step is what separates a temporary fix from a more durable solution by denying mold the moisture it needs to grow back.
Signs You Need Professional Mold Removal
Figuring out if you have a mold problem can feel like detective work. Sometimes the evidence is obvious, but other times it’s hidden away. Since mold thrives in damp environments, it often grows from issues like persistent leaks, poor airflow, or previous water damage. Knowing what to look for is the first step toward protecting your property and your family’s health. If you spot any of the signs below, it’s a clear signal that you need to take a closer look and likely call in a professional.
What Does Black Mold Look and Smell Like?
The most straightforward sign of mold is seeing it. Look for spots or patches of growth, which are often black but can also be green, white, or gray. These patches might appear on walls, ceilings, or in damp areas like bathrooms and basements. Another major clue is a distinct smell. If you notice a persistent musty, earthy odor that you can’t seem to place, it could be coming from mold growing behind drywall or under flooring. Don’t ignore these signs, even if they seem minor. They are your home’s way of telling you that a moisture problem is allowing mold to grow.
When to Call for Help Immediately
It’s important to address mold quickly to prevent health risks and further damage to your property. While a tiny spot of mildew in the shower might be a simple fix, certain situations demand immediate professional attention. If the mold covers an area larger than 10 square feet, is present in your HVAC system, or has appeared after a flood, it’s time to call for mold remediation. Professionals have the right equipment to contain the area, safely remove the mold, and address the underlying moisture source, ensuring the problem is handled correctly and doesn’t come back.
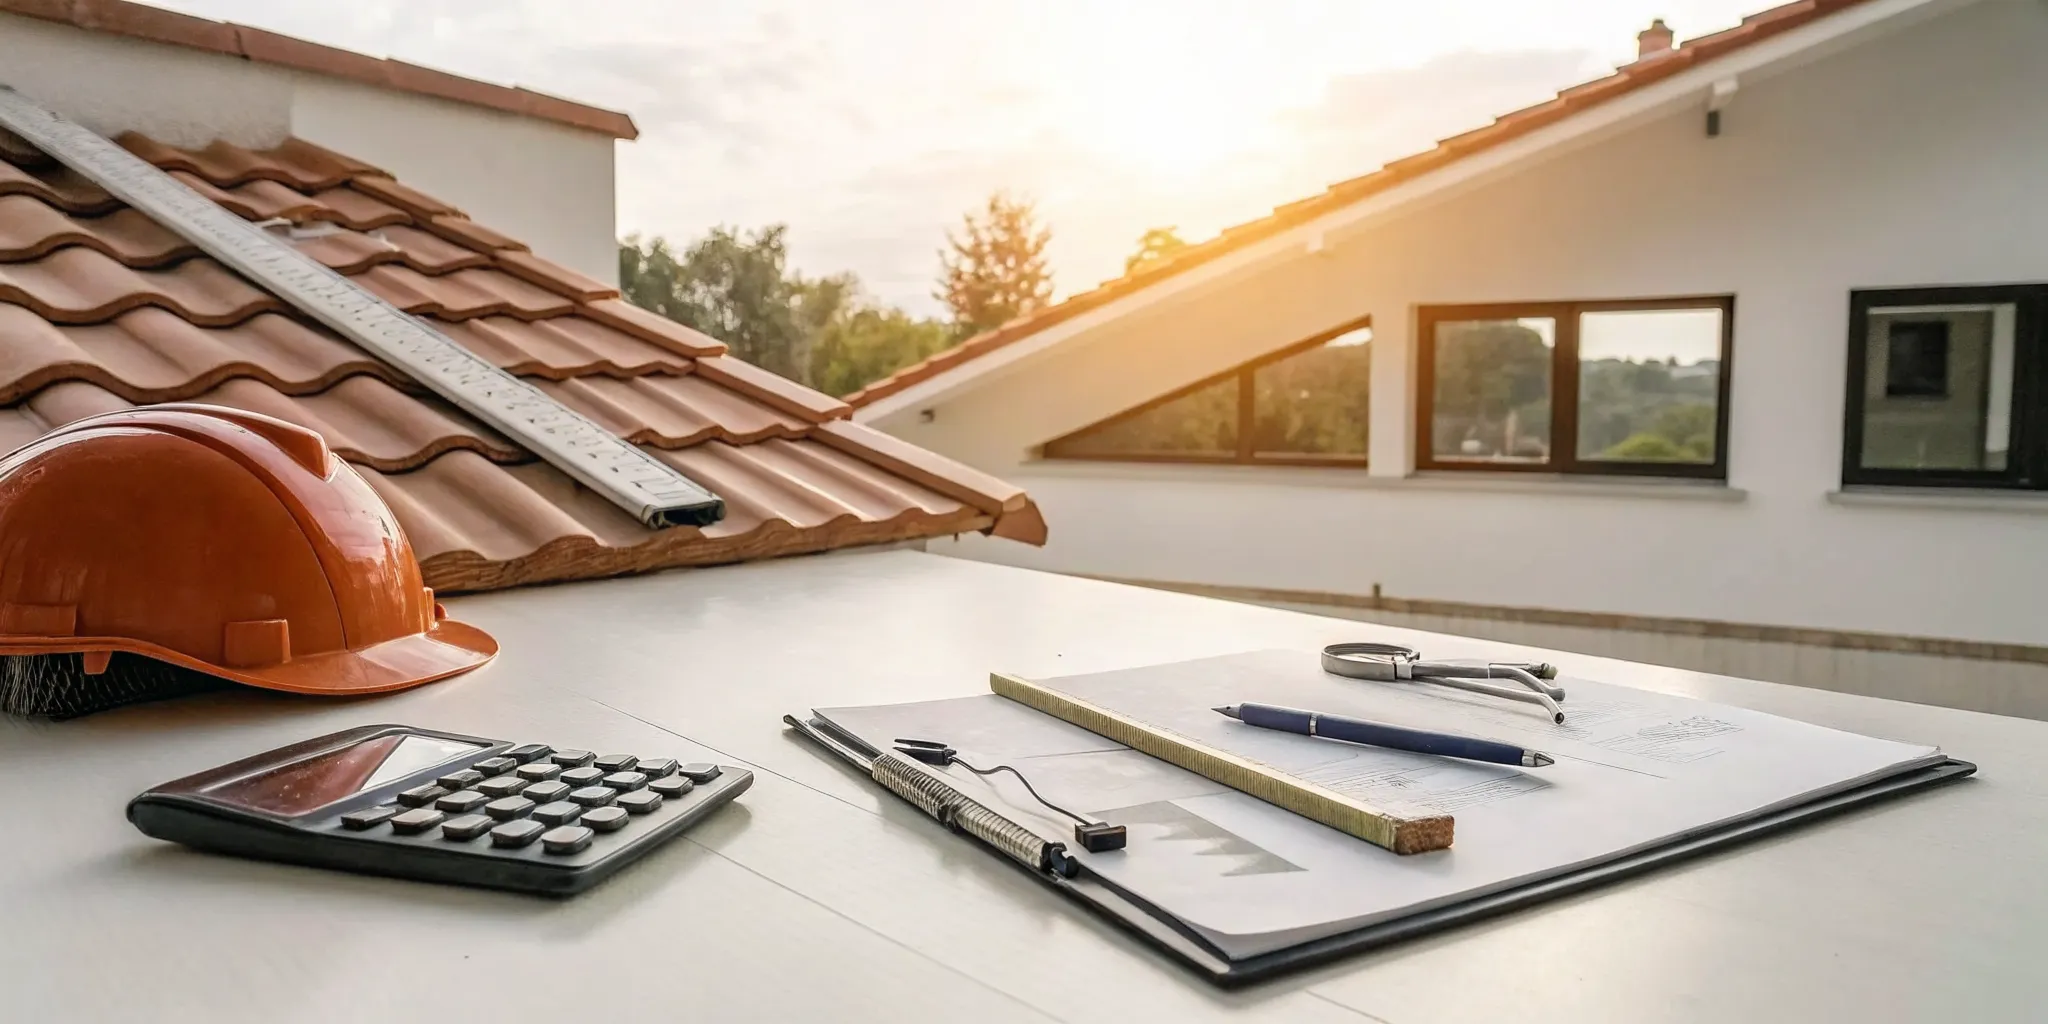
How to Budget for Your Mold Removal Costs
Finding out you have a mold problem can feel overwhelming, and worrying about the cost only adds to the stress. The good news is that you can get ahead of the financial side with a clear plan. By taking a few proactive steps, you can understand the potential expenses and feel more in control of the situation. It really comes down to three key actions: figuring out what your insurance will cover, gathering quotes from qualified experts, and setting aside a budget for any related repairs that might pop up. This approach helps you create a realistic financial picture and ensures there are no major surprises along the way.
Will Insurance Cover Mold Removal?
First things first, pull out your homeowner’s insurance policy. In Florida, whether your insurance covers mold removal often depends on what caused the mold in the first place. Coverage is typically approved only if the mold is the result of a “covered peril,” which is insurance-speak for a sudden and accidental event your policy covers, like a burst pipe. If the mold grew because of a slow leak or general humidity, it might not be covered. Your best move is to call your insurance agent right away. They can review your specific policy and explain what to expect. Since mold is often tied to water damage, understanding this connection is key.
Standard Homeowners Insurance Limitations
It’s a frustrating reality, but most standard homeowners insurance policies have strict limits on mold. Generally, your insurance will only pay for mold damage if it was caused by a sudden and accidental event that your policy already covers. Think of a pipe bursting or a water heater suddenly flooding your basement. However, if the mold is the result of a long-term issue, like a slow, dripping leak you didn’t fix or rain seeping in through a bad window seal over time, you’ll likely be on your own. Even when the cause is covered, many policies cap the amount they will pay for the actual mold removal, so it’s crucial to read the fine print.
Special Insurance Add-Ons for Water Damage
Because standard policies can be so restrictive, it’s worth looking into special add-ons, often called endorsements or riders. One common option is “water back-up coverage.” This add-on specifically protects you from damage caused by a backed-up sewer or a failed sump pump—two events that standard policies often exclude. If one of these incidents leads to water damage and subsequent mold growth, this extra coverage could be what saves you from paying for the entire cleanup out of pocket. It’s a relatively small addition to your premium that can provide significant financial protection, especially in a low-lying area like ours.
How to Get Accurate Estimates from Local Pros
Once you have a handle on your insurance situation, it’s time to get estimates from licensed professionals. A formal mold inspection and testing, which includes a visual check and lab analysis, can run between $300 and $800. The actual mold remediation cost varies widely, from around $1,500 to $6,000 for an average job. Smaller issues might only be about $500, while extensive contamination can climb over $10,000. It’s smart to get a few different quotes to compare services and pricing. Make sure you’re only talking to licensed and insured companies, as this protects you and guarantees the job is done right.
Why You Should Get 2-4 Different Quotes
When you’re facing a project like mold removal, getting a few different quotes is one of the smartest things you can do. It’s a common practice to gather two to four estimates to compare prices and understand the scope of work each company recommends. This helps you establish a baseline for what professional mold removal costs in the St. Petersburg area, so you can spot a quote that’s unusually high or suspiciously low. More importantly, it allows you to compare the proposed solutions. A thorough quote should detail the containment, removal, and repair plan, giving you the confidence to make an informed decision rather than just picking the cheapest price. When you’re ready, you can request a detailed estimate from our team.
Beware of “Good, Better, Best” Pricing Models
As you review estimates, be cautious of the “good, better, best” pricing model. This is a common sales tactic where a company presents three tiered options, designed to make the middle “better” choice seem like the most reasonable deal. While it looks simple, this approach can be misleading. It might pressure you into paying for services you don’t actually need or overlook critical steps in the “good” package. A truly professional mold remediation plan should be customized to your home’s specific situation, not fit into a generic package. Always ask for an itemized quote that clearly explains every step of the process and its cost.
Planning for Unexpected Repair Costs
It’s wise to plan for costs beyond just the mold removal itself. Often, the process of getting rid of mold reveals underlying damage to your home. Drywall, flooring, and insulation that have been affected by moisture may need to be torn out and replaced. These additional repairs can add another 30% to 50% to your total bill. The cost per square foot for remediation usually falls between $10 and $25, but if mold is hidden behind walls, the demolition and reconstruction will push you toward the higher end of that range. Building a cushion into your budget for these potential disaster recovery services will help you handle the entire project without financial strain.
Drywall Repair and Replacement Costs
After the mold-affected drywall has been carefully removed, you’ll be left with a clean slate—and probably some open walls. The next step is putting everything back together. The cost for drywall repair or replacement typically falls between $1,000 and $2,900. The final price depends on how much drywall needs to be replaced and the complexity of the job, like matching existing wall textures and repainting. This is a crucial part of the restoration phase, ensuring your home not only is safe but also looks like it did before. Working with a team that manages the entire project, from remediation to reconstruction, simplifies the process, making your disaster recovery much smoother.
Flooring and Carpet Repair Costs
Just like drywall, your flooring can be a casualty of the moisture that caused the mold in the first place. Carpet is especially vulnerable because its thick, porous fibers can trap moisture and mold spores, making it nearly impossible to fully salvage. While a minor flooring repair might cost between $200 and $550, replacing contaminated carpet is more involved, with costs usually ranging from $775 to $2,600. The price varies based on the size of the room and the type of new flooring you choose. Addressing the flooring is a non-negotiable step in fixing the aftermath of significant water and flood damage and ensuring no hidden mold is left behind.
What to Expect While the Remediation Team Is in Your Home
Knowing what to expect can make the mold removal process feel much less overwhelming. Once you’ve scheduled a professional service, the team will follow a clear, step-by-step plan to safely and effectively handle the mold in your home. While every situation is a bit different, the core process remains consistent. Here’s a look at a typical timeline and how you can prepare for the team’s arrival.
How Long Will the Project Take?
Most professional mold removal jobs take about three to seven days. A smaller, more contained issue might be resolved faster, while larger jobs will naturally take more time. The timeline depends on factors like the size of the affected area, the type of materials involved, and whether related repairs are needed. For very large or severe mold problems, you might need to temporarily leave your home to ensure your safety during the process. Your professional mold remediation team will give you a clear and accurate timeline after their initial inspection so you know exactly what to plan for.
How to Prep Your Home for the Remediation Team
Before the team arrives, your main task is to clear the way. If you can do so safely, remove personal items like furniture, photos, and decor from the affected area. This gives the crew easy access and protects your belongings. When the professionals get there, their first step is to set up containment. They’ll use plastic sheeting and other barriers to seal off the work zone and stop mold spores from spreading. They will also bring in equipment like air scrubbers and dehumidifiers to clean the air and thoroughly dry the space. If you have any questions about preparing your home, feel free to contact us ahead of your appointment.
Should You Stay or Go During Remediation?
This is a question we hear all the time, and the answer really comes down to safety. While it’s definitely inconvenient, the removal process can disturb mold and send spores into the air. For many people, this just causes temporary allergy-like symptoms. However, the health risks are much higher for children, the elderly, and anyone with respiratory conditions like asthma. Because your family’s well-being is the top priority, the safest choice is to temporarily relocate while professionals handle the mold remediation. This is especially true if the mold is in a main living area, like a kitchen or bedroom, or has entered your HVAC system.
How to Prevent Mold from Coming Back
After a professional team handles your mold problem, the last thing you want is a repeat performance. The good news is that preventing mold from returning is entirely possible with a few key habits. Since mold thrives on moisture, managing water and humidity in your home is the most important step you can take. By staying proactive and making a few simple checks part of your routine, you can keep your home healthy, dry, and mold-free for the long haul. It’s all about cutting off mold’s life source before it has a chance to get re-established.
Simple Ways to Control Moisture and Improve Airflow
Mold can’t grow without water, so your number one defense is moisture control. Here in St. Pete, high humidity is a constant battle, so aim to keep your indoor humidity levels between 30% and 50%. Running a dehumidifier can make a huge difference. Be sure to use exhaust fans in your kitchen and bathrooms to vent steam outside. It’s also critical to address any sources of water intrusion immediately. A small drip under the sink or a minor roof leak can create the perfect environment for mold. Promptly fixing these issues is key to preventing a bigger water damage problem and keeping mold at bay.
Easy Maintenance Habits to Keep Mold Away
Making a quick home inspection part of your monthly routine can save you a lot of trouble down the road. You don’t need to be an expert, just keep an eye out for the early warning signs. Check areas prone to dampness, like under sinks, around windows, and in the laundry room. Look for any water stains, discoloration on walls, or peeling paint. Also, trust your nose. A persistent musty smell often means mold is hiding somewhere nearby. If you spot something suspicious, it’s best to act fast. Catching a new mold spot early makes the cleanup much simpler and helps you avoid a large-scale mold remediation project.
Related Articles
- Expert Mold Removal St. Petersburg | Go Time Roofing and Restoration
- Expert Mold Remediation St. Petersburg | Go Time Roofing and Restoration
Frequently Asked Questions
Can I just use bleach or paint over the mold? This is a common first thought, but it unfortunately won’t solve the problem. Bleach can sometimes work on non-porous surfaces like tile, but it can’t penetrate porous materials like drywall or wood to kill the mold’s roots. Painting over mold is even worse; it just hides the issue and gives the mold a new food source. The only lasting solution is to physically remove the mold and, most importantly, fix the moisture source that allowed it to grow in the first place.
Is all dark-colored mold the dangerous “black mold”? Not necessarily. Many types of mold can appear black or dark green, and it’s impossible to identify the specific species just by looking at it. While Stachybotrys chartarum (the one people call “black mold”) is known for being toxigenic, any type of mold in your home is a sign of a moisture problem that can cause property damage and potential health effects. The best approach is to treat any visible mold as a problem that needs professional attention to protect your home and health.
Will my homeowner’s insurance pay for mold removal? This really depends on your specific policy and the cause of the mold. Generally, insurance is more likely to cover mold removal if it was caused by a sudden and accidental event that your policy covers, like a burst pipe. If the mold grew due to a slow, long-term leak or general high humidity, it’s often not covered. The best thing you can do is call your insurance agent as soon as you discover the problem to review your policy and understand your coverage.
Can I stay in my home during the remediation process? For smaller jobs that are well-contained in one area, you can often stay in your home. The professional team will seal off the work zone to prevent any spores from spreading. However, for larger projects that affect multiple rooms or if anyone in your household has asthma or a compromised immune system, it’s usually safer to make temporary living arrangements. Your remediation specialist will give you a clear recommendation after their initial inspection.
What’s the difference between mold removal and mold remediation? Think of mold removal as just one step in the larger process of mold remediation. Removal focuses on simply cleaning or getting rid of the visible mold. Remediation, on the other hand, is a comprehensive solution. It includes inspecting the property, finding and fixing the water source, containing the affected area to prevent cross-contamination, removing the mold, cleaning the air, and restoring any damaged materials. Remediation is the professional standard that ensures the problem is gone for good.
Keep Gutters Clean and Downspouts Directed Away
It’s easy to forget about your gutters until a heavy Florida downpour hits. But keeping them clean is one of the most effective ways to protect your home from water intrusion. When gutters get clogged with leaves and debris, rainwater has nowhere to go but over the sides, where it pools directly against your foundation. This is a recipe for moisture seeping into your crawl space or basement. A simple but crucial step is to make sure your home’s downspouts direct water away from the house by at least a few feet. This small detail prevents saturation around your home’s base, protecting your foundation and keeping the areas most vulnerable to mold growth dry. It’s a key part of overall roof and home health.
Avoid Carpeting in Wet Areas
Carpet feels cozy underfoot, but it’s a terrible choice for rooms that see a lot of moisture. You should always avoid putting carpet in wet areas like basements and bathrooms for a very good reason. Carpet fibers act like a sponge, trapping moisture from spills, humidity, or even just splashes from the shower. Once wet, it takes a very long time to dry completely, creating the perfect dark, damp environment for mold to thrive unseen beneath the surface. Instead, opt for waterproof flooring like ceramic tile, luxury vinyl, or sealed concrete in bathrooms, laundry rooms, and basements. This simple design choice removes a major risk factor for mold growth in your home.
Schedule Annual Plumbing Checks
Some of the most destructive mold problems start with a leak you can’t even see. A slow, silent drip from a pipe behind a wall or under a cabinet can go unnoticed for months, steadily feeding a hidden mold colony. This is why it’s so important to have your plumbing checked every year. A professional plumber can spot early signs of corrosion or failing seals and fix them before they turn into a major disaster. Think of it as a small, preventative investment that protects your home from costly and complex water damage repair down the line. It’s one of the smartest ways to ensure your home stays dry and mold-free from the inside out.