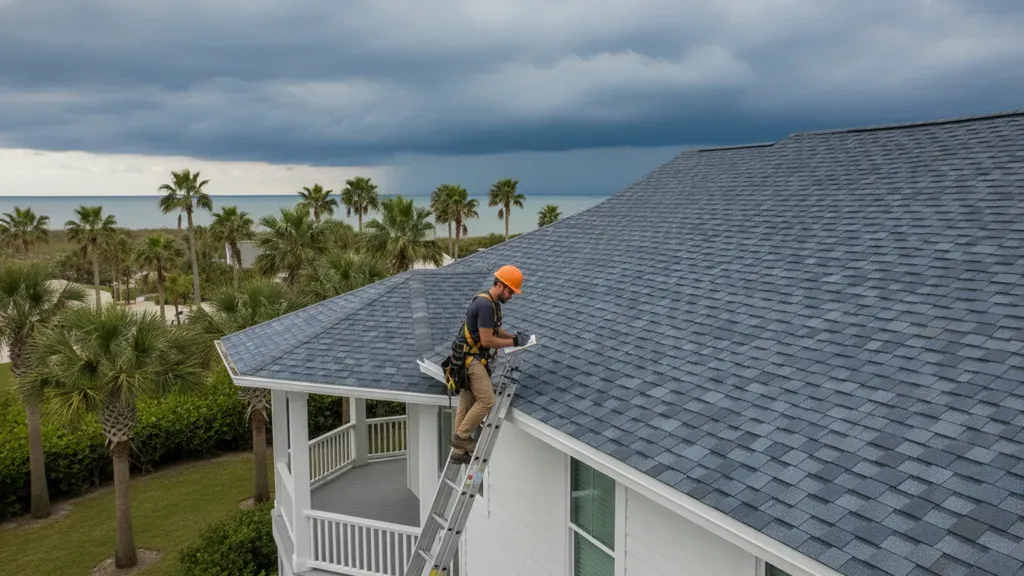
Hurricane Roof Inspection St. Petersburg FL Checklist
Living in St. Petersburg, FL, means your roof is the first line of defense against hurricane season. But how can you be sure it’s ready? The answer is a proactive hurricane roof inspection. For us Pinellas County homeowners, the goal is simple: find weak spots before wind-driven rain turns a small roof issue into major interior water damage. A proper inspection also gives you the clear documentation you need for smoother insurance conversations and faster repairs after a storm passes. It’s your best tool for protecting your home and your peace of mind.
Need a professional second look before or after a storm? Request a free roofing quote from Go Time Roofing & Restoration and get clear next steps for your St. Petersburg home.
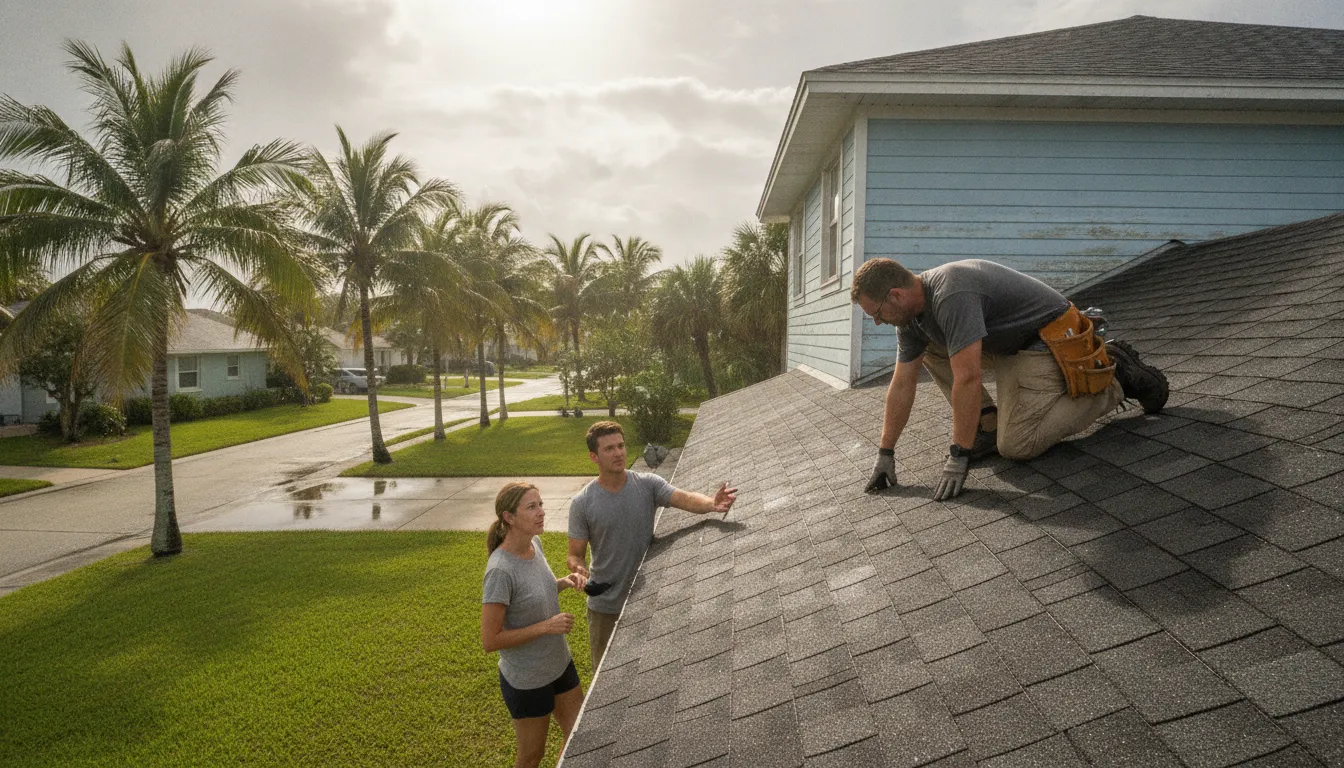
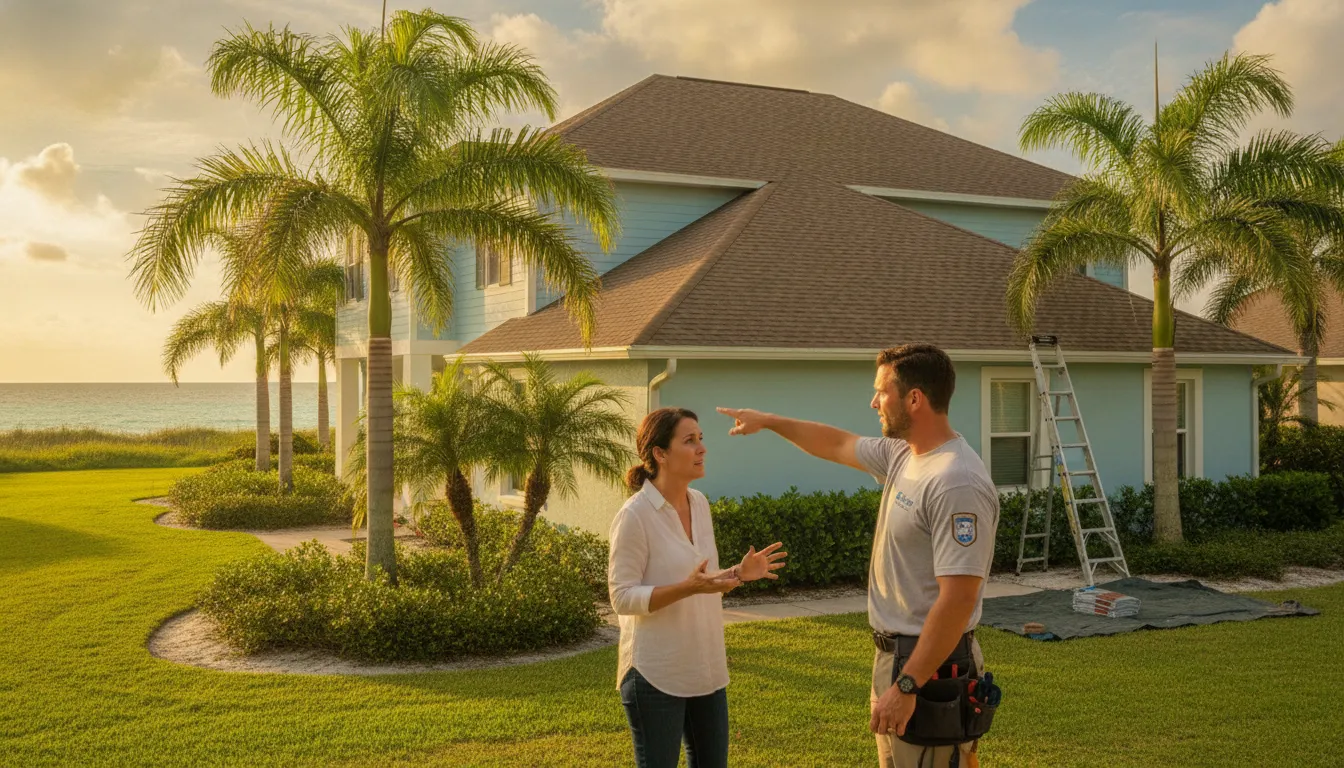
This checklist is designed for homeowners who want to inspect safely from the ground, organize photos, understand warning signs, and know when it is time to call a licensed local roofing contractor. It is not a replacement for a professional roof assessment, and you should never climb onto a wet, steep, damaged, or debris-covered roof. Instead, use it to prepare your home, protect your records, and act quickly when something looks wrong.
Your Pre- and Post-Hurricane Roof Checklist
Before a hurricane, check the roof from the ground for loose or missing shingles, cracked tiles, worn flashing, clogged gutters, overhanging branches, damaged fascia, and any ceiling stains that suggest an existing leak. After the storm passes, look for new shingle loss, lifted edges, granule piles, dented vents, damaged soffits, displaced flashing, water stains, damp insulation, and debris impact marks.
The most important rule is to compare before and after conditions. A roof that already had an aging flashing detail or loose shingle may fail faster under hurricane-force wind and rain. A clear photo record helps show what changed, when it changed, and why repairs may be urgent.
Understanding Your Insurance Before the Storm Hits
After you’ve documented your roof’s current condition, the next step is to pull out your homeowner’s insurance policy. Knowing exactly what your policy says before a storm hits can save you from major financial headaches and surprises later. Insurance documents can be dense, but focusing on a few key areas will give you the clarity you need to feel prepared. It’s all about understanding your financial responsibility and what your insurer expects from you as a homeowner.
Review Your Hurricane Deductible
The first thing to look for is your hurricane deductible. This is often different—and much higher—than your standard deductible for other types of claims. Instead of a flat dollar amount, it’s typically a percentage of your home’s insured value, usually between 2% and 10%. For a home insured for $400,000, a 5% deductible means you’d be responsible for the first $20,000 of repairs. Clarifying this amount with your insurance provider now helps you understand the potential out-of-pocket costs you’d face after a major storm, allowing you to plan accordingly.
Know What Your Policy Covers (and What It Doesn’t)
A standard policy doesn’t automatically cover every type of storm-related damage. It’s critical to understand the fine print on what is and isn’t included. For example, some policies have specific exclusions for cosmetic damage versus functional damage. According to roofing experts, if your roof is already in poor condition, an insurance company might not pay for all the damage after a storm. Getting a pre-storm inspection and handling minor repairs shows you’ve taken proactive steps to protect your property, which can be a huge help if you need to file a claim.
Age and Wind Rating Limitations
Two factors that can significantly affect your coverage are your roof’s age and its wind rating. Many policies reduce coverage for roofs over a certain age, like 15 or 20 years, or may only pay for its depreciated value rather than the full replacement cost. Similarly, you should know your roof’s wind rating and what your policy requires. If your roof isn’t rated for the wind speeds common in our area, you could face coverage gaps. Check your policy documents or call your agent to confirm these details for your specific roof.
Potential Claim Denials from Neglect
Insurance is designed to cover sudden and accidental damage, not issues that arise from a lack of maintenance. If damage can be traced back to neglect, your claim could be denied. For instance, if a dead tree you failed to remove falls on your house, your insurer might argue the damage was preventable. The same logic applies to a roof with known, unrepaired leaks. This is why documenting your pre-storm inspections and repairs is so important. If the worst does happen, our team is always ready to help with emergency disaster recovery services to secure your property and prevent further damage.
How to Prepare Your Roof for a Hurricane
Run this checklist well before a storm is in the forecast if possible. Once a watch or warning is active, contractor schedules fill quickly, supplies become harder to source, and it may be unsafe to perform even basic exterior checks.
1. Start With a Ground-Level Walkaround
Start at the curb and walk the perimeter of the home. Use binoculars or your phone zoom instead of climbing. Look for shingles that are curling, cracked, buckled, missing granules, or sitting unevenly. If your home has tile roofing, look for cracked, slipped, or missing tiles. If it has a low-slope or flat roof, look for ponding areas, bubbles, open seams, or edge metal that appears loose.
For a broader look at roofing systems Go Time services, visit the roofing services page. St. Petersburg homes often use shingle, tile, and flat roofing systems, and each one shows storm vulnerability in a different way.
2. Examine Your Roof’s Edges and Overhangs
Hurricane winds often attack the edges of a roof first. Check for gaps where fascia boards meet the roofline, loose drip edge, sagging soffit panels, exposed wood, peeling paint, or dark staining under eaves. These details may look minor, but wind-driven rain can push water into small openings that normal afternoon storms never reach.
3. Check the Seals Around Vents and Chimneys
Flashing protects the places where the roof is interrupted by vents, chimneys, skylights, walls, and plumbing stacks. From the ground, look for metal that appears lifted, rusted, bent, missing sealant, or separated from the surrounding roof material. A single weak flashing area can create a leak that travels far from the actual entry point.
4. Focus on Your Roof’s Most Vulnerable Components
While every part of your roof works together as a system, some components are inherently more susceptible to hurricane damage. High winds, torrential rain, and flying debris tend to attack specific areas first. By paying extra attention to these vulnerable spots during your ground-level inspection, you can catch critical issues before they lead to catastrophic failure during a storm. Think of these as the high-priority items on your checklist—the places where a small problem can quickly become a very big one.
Ridge Caps and Fasteners
The ridge cap is the peak of your roof, the line where two sloped sides meet. Because it sits at the highest point, it takes a direct hit from the most powerful winds. The fasteners—the nails or screws holding the ridge cap and shingles in place—are the only things preventing those materials from being peeled off your home. If these fasteners are old, rusted, or were not installed correctly, they can easily pull loose, allowing wind to get underneath and lift entire sections of your roof. From the ground, look for any ridge cap shingles that appear lifted, cracked, or misaligned. Also, keep an eye out for exposed or rusted nail heads, which are clear signs of weakness.
Underlayment on Tile Roofs
If you have a tile roof, the real waterproofing hero is the underlayment—a membrane installed beneath the tiles. While tiles shed the majority of water, they aren’t completely watertight against wind-driven rain. The underlayment is your home’s last line of defense. Over time, especially with Florida’s intense sun, this material can become brittle and fragile. A single cracked or slipped tile can expose the underlayment, accelerating its decay. During a hurricane, shifting tiles can cause this brittle layer to tear, creating a direct path for water to enter your attic. Since you can’t see the underlayment, you must look for clues like broken, chipped, or out-of-place tiles. If you see any, it’s a strong signal that you need a professional to assess the health of the system underneath, especially for older tile roofs.
Satellite Dishes, Solar Panels, and Antennas
Anything attached to your roof—from a satellite dish and solar panels to antennas and vents—creates a penetration point that can be a potential source of leaks. More importantly, during a hurricane, these objects can act like sails, catching the wind and putting immense stress on their mounting points. If an attachment is not perfectly secure, the force of the wind can rip it right off your roof, taking shingles, tiles, and even pieces of the roof deck with it. Check these items from the ground to see if they appear loose or wobbly. Look closely at the sealant around the base of the mounts; if it’s cracked, peeling, or has gaps, it’s no longer watertight and needs to be addressed by a professional before the storm hits.
4. Clear Gutters for Proper Water Flow
Gutters and downspouts should move heavy rain away from the roof edge and foundation. Remove leaves, seed pods, palm debris, and shingle granules. Confirm downspouts discharge away from the house. If you see a heavy buildup of asphalt granules, that can indicate aging or storm-worn shingles that need a closer inspection.
5. Trim Overhanging Branches and Secure Yard Items
Branches that scrape the roof can lift shingles, crack tiles, and drop debris into valleys. Patio furniture, planters, and loose yard items can become impact hazards during severe wind. A roof inspection should include the surrounding property because many hurricane roof problems start with flying debris.
6. Check Your Attic for Early Signs of Leaks
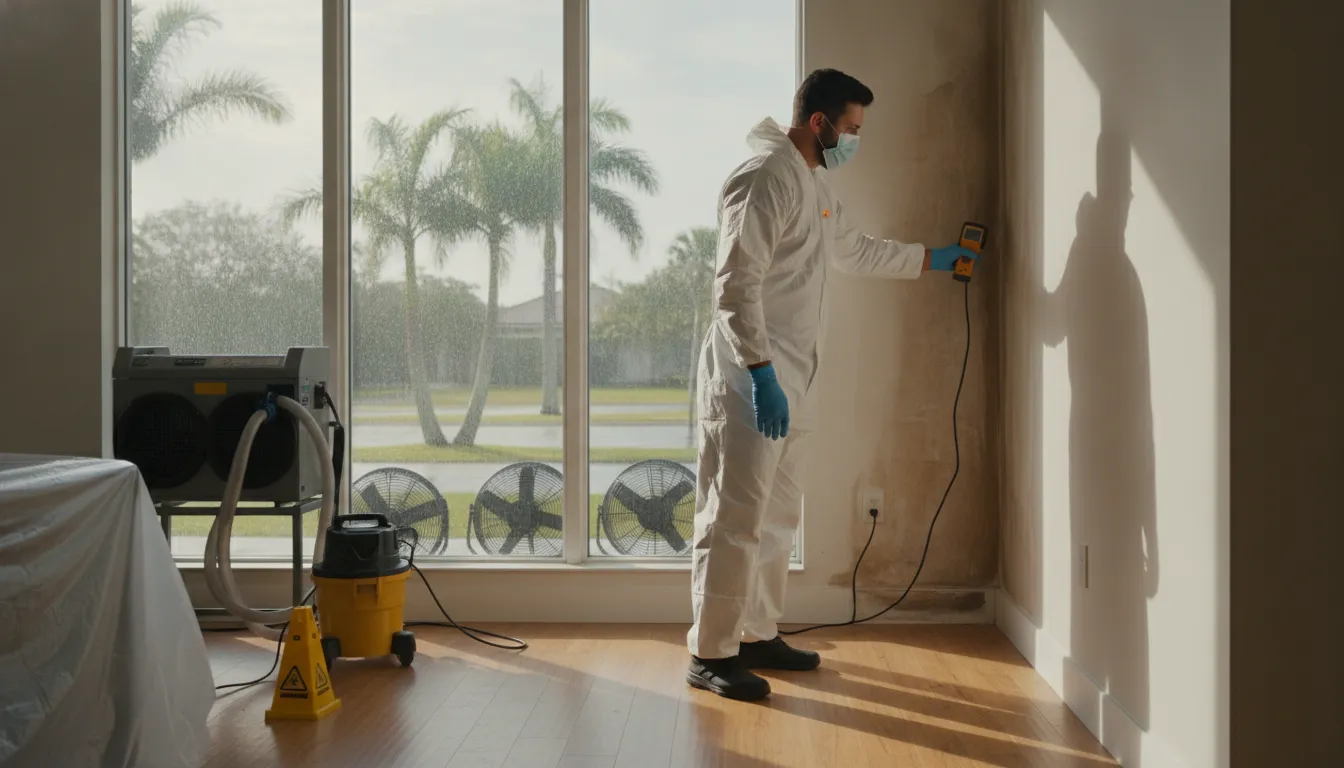
Interior signs matter before a storm. Check ceilings, closets, attic decking, insulation, and areas around vents for stains, damp smells, daylight through the roof deck, or mold-like growth. If a roof already leaks during normal rain, hurricane conditions can make the problem much worse. Go Time also handles restoration needs when roof leaks create interior damage, including water and flood damage restoration.
How to Inspect Your Roof After a Hurricane
Wait until local officials say it is safe to go outside. Stay away from downed power lines, flooded areas, unstable trees, and loose roof materials. Do not climb on the roof after a hurricane. Wet surfaces, hidden structural damage, and wind-loosened materials can make the roof unsafe even if it looks stable from below.
1. Execute Your Post-Storm Plan
After a hurricane, your first move is to wait until local officials give the all-clear. It’s tempting to rush outside, but downed power lines and unstable debris are serious hazards. Once it’s safe, you can begin your inspection from the ground. Never climb onto your roof after a storm; it could have hidden structural damage or loose materials that make it incredibly dangerous. Your main job is to be a detective from a safe distance, gathering clues about your roof’s condition and knowing when to call for professional help.
Walk your property and look for any new signs of trouble. Are there missing shingles, lifted metal flashing, or dents in your roof vents? Check the ground for piles of shingle granules, which look like coarse black sand. These details are crucial. Take clear photos of everything that looks different from your “before” pictures. This visual record is your best tool for insurance claims and for showing a professional exactly what happened. Catching these issues early prevents them from turning into bigger problems, like the kind that require extensive disaster recovery services.
1. First, Photograph All Sides of Your Home
Take wide photos of the front, back, left, and right sides before moving anything. Then take medium and close photos of specific damage. Wide photos give context, while close photos show detail. Use consistent angles so you can compare them with pre-storm photos.
2. Spot Missing, Cracked, or Lifted Shingles
Missing shingles, lifted tabs, shifted tiles, exposed underlayment, and torn flat-roof membrane are urgent warning signs. Even if no water is dripping inside, the roof system may no longer be sealed. Wind damage can also break shingle seals without fully removing the shingle, which is why a professional inspection is useful after strong wind.
3. Look for Dents and Punctures from Debris
Branches, signs, patio items, and windblown construction debris can bruise shingles, crack tiles, dent metal vents, or puncture flat roof surfaces. Mark the area in your notes, but do not remove embedded debris unless it creates an immediate safety issue. Removing it too soon may make water entry worse or disturb evidence of the impact.
4. Examine Gutters and Look for Granules
Look for gutters pulling away from the fascia, bent downspouts, loose fasteners, and piles of granules near splash blocks. Also check the yard for pieces of shingles, tile fragments, ridge caps, nails, flashing, or vent covers. Photograph debris where you find it before disposal.
5. Get in the Attic to Find New Leaks
If it is safe to access your attic, look for wet insulation, dark roof decking, water trails, damp rafters, or daylight. Use a flashlight, not an open flame. If you smell moisture or see staining, schedule a roof inspection quickly. Hidden roof leaks can lead to drywall damage, electrical concerns, and mold conditions in Florida humidity.
If your roof has visible storm damage, do not wait for the next band of rain. Contact Go Time for a free assessment so you can understand repair options, timelines, and what needs immediate attention.
Documenting Roof Damage for Your Insurance Claim
Good documentation starts before anyone makes permanent repairs. The Florida Department of Financial Services recommends documenting damage with photos or video, keeping receipts, making reasonable emergency repairs to prevent further damage, and reporting damage to your insurance company promptly. You can review state disaster guidance through the Florida Department of Financial Services disaster preparedness resources.
Create a simple storm folder on your phone or computer. Include the storm name if applicable, date, time, weather conditions, photos, videos, contractor notes, receipts, and a record of every insurance call. If you speak with an adjuster or representative, write down the date, name, phone number, and summary of what was discussed.
What Photos Should You Take?
- Wide photos of each side of the house
- Close photos of missing shingles, cracked tiles, lifted flashing, or punctures
- Photos of gutters, downspouts, soffits, fascia, and roof edges
- Interior photos of ceiling stains, damp drywall, wet insulation, or bubbling paint
- Photos of fallen branches, debris, or roof materials found in the yard
- Receipts for tarping, temporary repairs, cleanup, lodging, or materials
For emergency preparation beyond the roof, the Florida Division of Emergency Management disaster supply checklist is a helpful planning resource for households in hurricane-prone areas.
What Not to Say to Your Insurance Adjuster
Once you’ve reported the damage, your next conversation will likely be with an insurance adjuster. This is a crucial step, and what you say—and don’t say—can make a big difference. It’s natural to feel stressed, but your goal is to be clear, factual, and calm. Avoid guessing about the cause of the damage. Instead of saying, “I think the wind lifted the shingles,” stick to what you can see: “There are shingles missing from the back slope of the roof.” Similarly, don’t downplay the issue with phrases like, “It’s just a small leak.” A better approach is to describe the facts: “There is a new water stain on the ceiling that is three feet wide.” Your role is to report the damage you’ve documented and allow for a thorough investigation, not to rush the process or accidentally accept fault. Understanding what your homeowners insurance covers ahead of time will also help you communicate more effectively.
When to Call a Professional for a Roof Inspection
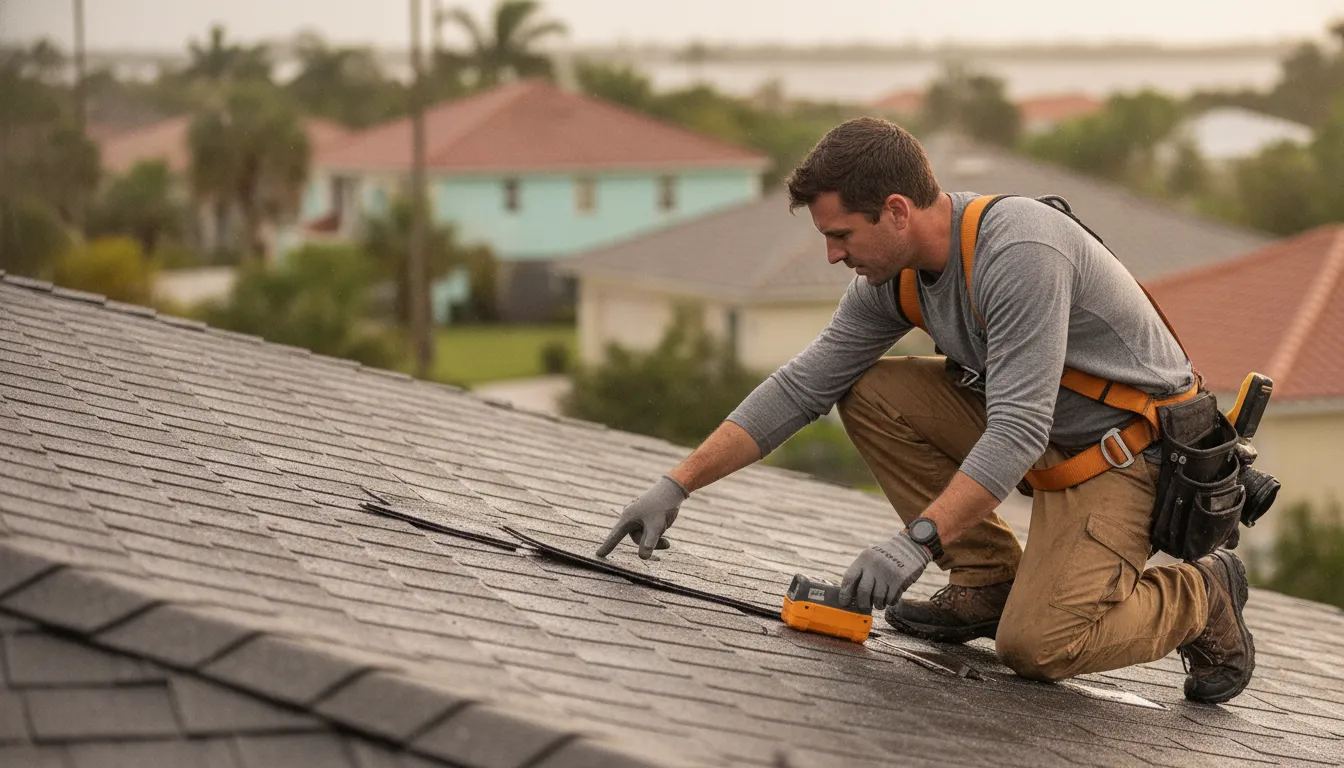
Call a roofing professional if you see missing materials, active leaks, sagging roof sections, exposed underlayment, lifted flashing, cracked tiles, punctures, attic moisture, or new ceiling stains. You should also schedule an inspection after high wind even when damage is not obvious, especially if nearby homes lost shingles or tree limbs.
Some storm damage is subtle. Hail and wind can weaken shingles without creating an immediate leak. Lifted shingles may settle back down after the wind stops, but the seal can be broken. Tile cracks may be hard to see from the ground. Low-slope roof seams may separate slightly and leak later. Go Time has also published a helpful guide on hail damage roof signs if you want to compare impact-related warning signs.
Modern Inspection Techniques: The Role of Drones
Don’t be surprised if your roofing professional uses a drone for your post-hurricane inspection. This modern approach is much safer and more efficient than climbing a ladder onto a roof that could be wet or unstable. The drone’s high-resolution camera can capture detailed images that reveal subtle damage, like hairline cracks or lifted shingle seals, that are nearly impossible to spot from the ground. Best of all, this clear aerial footage provides powerful, undeniable evidence for your insurance claim, creating a precise record of your roof’s condition right after the storm.
Pre-Storm Prep vs. Post-Storm Assessment
| Timing | What To Check | Why It Matters |
|---|---|---|
| Before storm season | Loose shingles, cracked tiles, aging flashing, clogged gutters, branches, attic stains | Fixing weak points early reduces the chance of wind-driven rain entering the home. |
| When a storm is forecast | Drainage, loose yard items, recent leak signs, emergency contacts, photo records | Last checks help you prepare without unsafe roof access. |
| Immediately after the storm | Missing materials, debris impact, gutters, soffits, fascia, ceiling stains | Fast documentation supports repair planning and insurance conversations. |
| One to two weeks later | New stains, musty odors, slow leaks, attic moisture, granule loss | Some roof leaks appear after repeated rain or delayed moisture movement. |
What Makes This Checklist More Effective?
General hurricane roofing advice often focuses on materials, wind ratings, and roof design. Those are important, and Go Time covers that broader topic in its hurricane roofing guide. This checklist focuses on timing and action: what to inspect before a storm, what to inspect after a storm, how to document changes, and when to bring in a professional.
If your roof is older, has repeated leaks, or has damage that may be too extensive for a basic repair, you may also want to review Go Time’s guide to roof recovery vs. replacement. A storm inspection can help clarify whether a repair, recovery approach, or replacement discussion makes the most sense.
When Should You Schedule a Roof Inspection in St. Petersburg?
The best schedule is once before hurricane season, once after any major storm, and anytime you notice a leak or visible damage. In St. Petersburg and across Pinellas County, roof systems face salt air, UV exposure, heavy rain, tropical wind, and high humidity. Those conditions can age sealants, loosen fasteners, and make small defects more serious over time.
For newer roofs, a pre-season check helps confirm the system is ready. For older roofs, it can identify repair needs before storm demand spikes. For homes with prior storm damage, it creates a record that may be useful if new damage occurs later.
Why You Should Inspect Before June 1st
Scheduling a professional roof inspection before June 1st is one of the smartest moves a Florida homeowner can make. That date marks the official start of hurricane season, and your roof is the primary barrier protecting your home from intense wind and rain. An early inspection gives a licensed expert time to identify and address small issues—like loose shingles, cracked tiles, or failing sealant—that are often invisible from the ground. Addressing these minor weak points proactively is far more cost-effective than facing major structural failure and interior water damage during a storm. Plus, you avoid the last-minute rush for professional roofing services when a hurricane is already on the radar and contractors are overwhelmed.
How to Safely Inspect Your Own Roof
- Do not climb onto a wet, damaged, steep, or debris-covered roof.
- Do not touch downed power lines, metal objects near wires, or standing water near electrical hazards.
- Do not pull loose roofing materials if they are still attached.
- Do not make permanent repairs before documenting the damage.
- Do make reasonable temporary repairs if needed to prevent further damage, and keep receipts.
- Do call a professional if you are unsure whether the roof is safe.
National hurricane readiness guidance from the National Hurricane Center also emphasizes preparing before hurricane season, understanding your risk, and having a plan in place before storms threaten your area.
Long-Term Strategies for a Hurricane-Resistant Roof
While pre-storm and post-storm checklists are essential for immediate safety, a long-term strategy is what truly fortifies your home against future hurricanes. This means looking beyond temporary fixes and investing in the structural integrity of your roof. Proactive measures like upgrading materials, performing regular professional maintenance, and planning for major replacements can transform your roof from a point of vulnerability into a reliable shield. These steps not only provide peace of mind but can also save you from far more expensive and stressful emergency repairs down the road. Thinking ahead is the key to weathering Florida’s storm seasons with confidence.
Upgrading to Hurricane-Resistant Materials
If your roof is approaching the end of its lifespan, waiting for a storm to force your hand is a risky gamble. A full roof replacement is an opportunity to upgrade to materials specifically engineered to withstand hurricane-force winds. Options like metal roofing, concrete or clay tiles, and modern architectural shingles offer superior durability and wind resistance compared to older, standard 3-tab shingles. While the initial investment is higher, a new, hurricane-rated roof provides a critical defense for your entire home. It’s a long-term investment in safety that protects your property and family when it matters most. You can explore different roofing services to see which material best fits your home’s style and budget.
Addressing Ventilation and Defective Shingles
A professional roof inspection does more than just spot obvious damage. It helps identify subtle weaknesses like loose shingles, failing sealant, or tiny leaks that are invisible from the ground. Fixing these small issues is a cost-effective way to prevent them from becoming major entry points for wind-driven rain during a hurricane. An expert will also assess your attic’s ventilation. A properly ventilated roof system can better withstand the dramatic pressure changes common in a hurricane, reducing the risk of the roof deck lifting. Regular maintenance ensures all components of your roof are working together to keep your home sealed and secure.
Exploring Financing for Proactive Replacements
The cost of a new roof can feel overwhelming, causing many homeowners to delay a necessary replacement. However, putting it off can lead to much greater expenses if a storm strikes a compromised roof, resulting in severe structural and water damage. Many reputable roofing contractors offer financing options to make a proactive replacement more manageable. Spreading the cost over time allows you to secure your home with a new, resilient roof *before* disaster hits. Think of it as a strategic investment in your home’s protection, preventing the financial and emotional turmoil of post-hurricane restoration.
Common Florida Roofing Questions
For homeowners in St. Petersburg, navigating roofing decisions can bring up a lot of specific questions related to our state’s unique climate and regulations. Understanding the rules, costs, and even aesthetic choices can help you make more informed decisions about maintaining or replacing your roof. Here are answers to a few of the most common questions we hear from local property owners. Getting clear on these topics will help you have more productive conversations with your roofer and insurance provider, ensuring you get the best outcome for your home.
What Is the Florida “25% Rule” for Roofing?
The Florida “25% Rule” is a provision in the Florida Building Code that significantly impacts roof repairs. It states that if more than 25% of a roof section is damaged, you cannot simply patch the damaged area. Instead, the entire roof section must be repaired or replaced to meet the current, more stringent building codes. This rule is designed to improve the overall integrity of roofs across the state. For homeowners, it means that what might seem like a simple repair job could legally require a much larger replacement, which is an important factor to consider when assessing storm damage and discussing options with your insurance company.
What Is the Average Cost of a Roof Inspection?
The cost of a roof inspection in Florida can vary. Many professional roofing companies, including Go Time Restoration, provide a free inspection and assessment as part of a quote for repairs or a replacement. This is often the best first step if you see signs of damage or are preparing for storm season. If you need a formal, detailed report for a real estate transaction or a specific insurance purpose, a standalone inspection might cost anywhere from $200 to $600, depending on the roof’s size and complexity. For most homeowners with a specific concern, a no-cost evaluation from a trusted local roofer is all that’s needed to get clear answers.
Can Roof Color Increase My Home’s Value?
Yes, your roof’s color can absolutely impact your home’s value, especially in a sunny climate like Florida’s. Lighter-colored roofs, often called “cool roofs,” reflect more sunlight and absorb less heat than darker roofs. This can keep your attic and home significantly cooler, leading to lower air conditioning costs—a tangible benefit that is attractive to potential buyers. From a curb appeal perspective, neutral colors like tans, grays, or light bronzes tend to have the broadest appeal, making your home more marketable. Choosing a color that is both energy-efficient and aesthetically pleasing is a smart way to add lasting value.
Don’t Wait: Get a Professional Hurricane Roof Inspection
A hurricane roof inspection is not about panic. It is about knowing the condition of your roof before severe weather tests it, then responding quickly if wind or rain changes that condition. With clear photos, safe ground-level checks, and a licensed local contractor when needed, St. Petersburg homeowners can make better decisions before small roof problems turn into expensive interior damage.
Go Time Roofing & Restoration provides roofing support for St. Petersburg and Pinellas County homeowners. Request your free roofing quote today for practical next steps before or after hurricane weather.
Frequently Asked Questions
What’s the most important thing to do before hurricane season starts? The single best thing you can do is get a professional roof inspection before June 1st. This gives you time to find and fix any small, hidden issues like loose shingles or failing sealant before a storm hits. Addressing these weak spots early is much easier and less expensive than dealing with major water damage during a hurricane. It also gives you a clear “before” picture of your roof’s condition for insurance purposes.
I see some shingles missing after a storm. Is this an emergency? Yes, you should treat any missing or visibly damaged roofing materials as an urgent issue. Even if you don’t see water dripping inside your home yet, the protective barrier of your roof has been compromised. The next rain shower could easily get into your attic and cause significant water damage, mold growth, and structural problems. Contact a professional roofer right away for an assessment.
My insurance company mentioned a “hurricane deductible.” How is that different from my regular deductible? A hurricane deductible is a separate, often much higher, amount you must pay out of pocket for repairs specifically caused by a named hurricane. Instead of a fixed dollar amount like $1,000, it’s usually a percentage of your home’s total insured value, often between 2% and 10%. It’s critical to review your policy and know this percentage so you can understand your potential financial responsibility after a major storm.
Can I just inspect my roof myself from a ladder? For your safety, you should never climb onto your roof, especially after a storm when it could be wet, slippery, or have hidden structural damage. You can, and should, perform a thorough inspection from the ground using binoculars or your phone’s camera zoom. Look for obvious issues like missing shingles, cracked tiles, or dented vents. If you spot anything concerning, that’s your cue to call a licensed professional who has the right safety equipment and training.
My roof is old. Will my insurance still cover storm damage? It depends on your specific policy. Many insurance providers reduce coverage for older roofs, sometimes only paying for the roof’s depreciated value rather than the full cost of a replacement. If your roof is over 15 or 20 years old, your insurer might argue it was already in poor condition. This is why having a pre-storm inspection and a record of maintenance is so valuable; it shows you took proactive steps to care for your property.
Key Takeaways
- Create a visual record before and after storms: Use the ground-level checklist to photograph your roof’s condition before hurricane season and again after a storm passes. This before-and-after comparison is your best evidence for identifying new damage and streamlining insurance claims.
- Review your insurance policy ahead of time: Understand your specific hurricane deductible, any coverage limitations related to your roof’s age, and what your policy says about pre-existing damage. Knowing your financial responsibility now prevents major surprises later.
- Prioritize safety and know when to call a pro: Always inspect your roof from the ground, as post-storm roofs can be unstable. If you spot missing materials, signs of a leak, or any damage you are unsure about, contact a licensed roofer for a professional assessment.