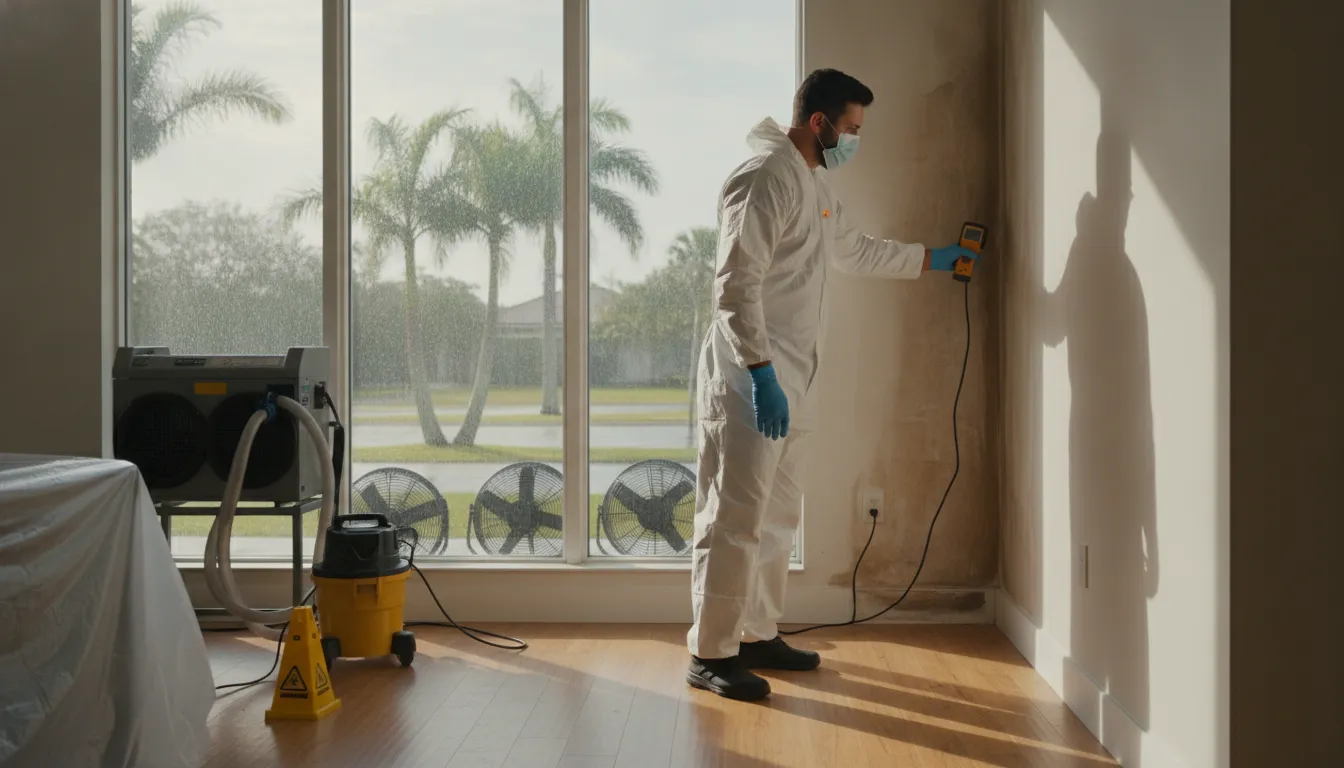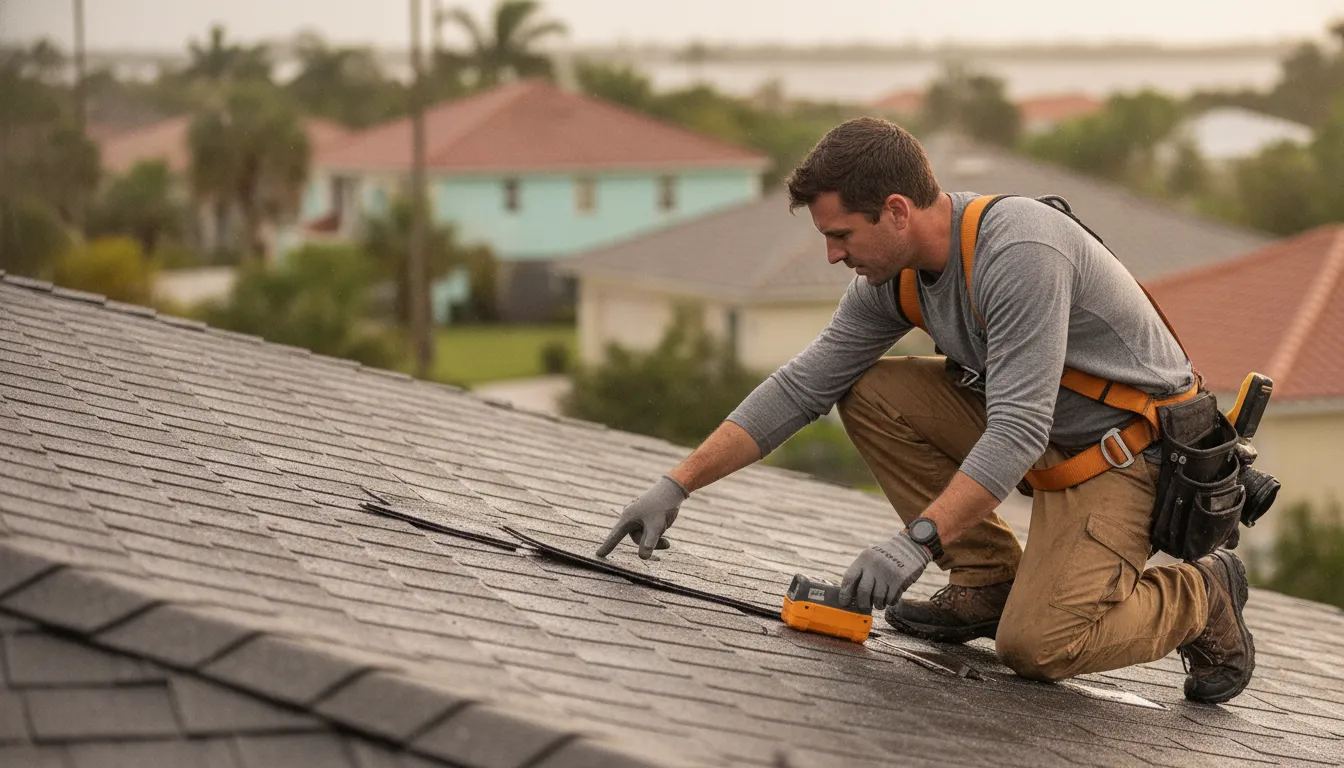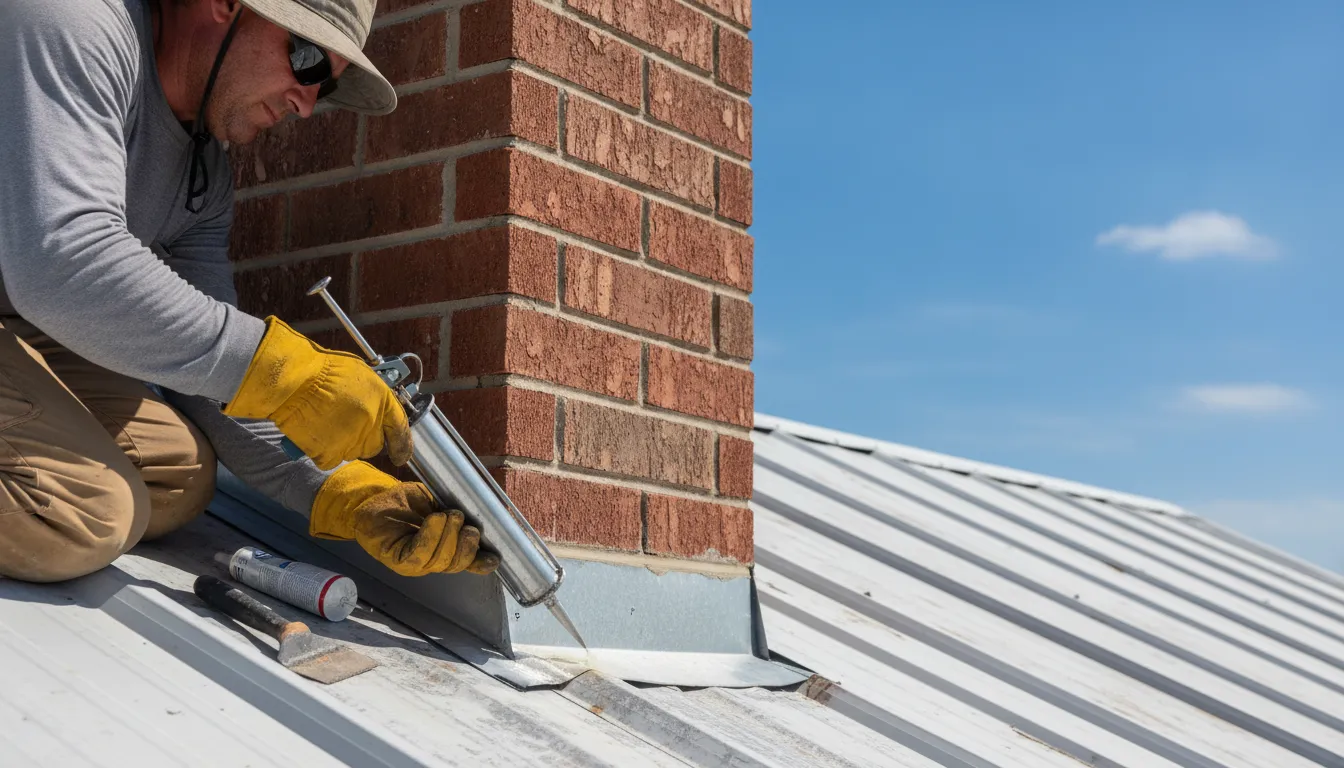
A roof can look intact from the ground while water is already entering around a chimney, skylight, vent, or plumbing stack. These roof penetrations interrupt the shingle or membrane surface, so their flashing and seals must direct rainwater into the drainage path instead of behind the roofing materials. In St. Petersburg, heavy rain, heat, humidity, and storm exposure make these details especially important.
Schedule your free roof flashing inspection in St. Petersburg today
Professional roof flashing repair St. Petersburg homeowners can rely on restores the water-shedding details around roof penetrations. Addresses failed sealants or damaged metal, and helps limit leaks before they spread into decking, insulation, ceilings, or walls.
Flashing repair is not simply a matter of adding caulk over a visible gap. The correct solution depends on the penetration type, the condition of surrounding roofing, and how each flashing layer overlaps to manage runoff. Understanding where these systems fail is the first step toward recognizing a small weakness before the next Tampa Bay storm turns it into interior water damage.
Why Roof Flashing Fails Around Chimneys, Vents, and Skylights
Flashing fails when it no longer keeps water moving over and away from the roof system, especially at chimneys, vents, and skylights. In St. Petersburg, heavy rain, wind-driven storms, humidity, and heat can expose small installation or seal problems before they become interior leaks.
Roof penetrations interrupt the continuous surface that normally sheds rainwater. Each interruption needs carefully integrated flashing that directs water into the next lower drainage layer. The University of Minnesota Extension describes flashing as a critical part of the drainage plane and notes that every layer should move water outward over the layer below it. When a piece is reversed, poorly lapped, or left incomplete, the same detail can direct water into the building instead. Homeowners looking for professional roof flashing repair should have the entire drainage path evaluated, not just the stain on the ceiling.
Overlapping the drainage plane
Flashing is not simply a metal cover placed around a pipe or chimney. Its edges, laps, and transitions must work with the shingles, underlayment, counterflashing, or membrane around them. Water should encounter each upper layer and flow onto the next lower layer without finding an open seam. The University of Minnesota Extension warns that improperly overlapped or reversed flashing may direct water into the structure, causing moisture damage. This is why a bead of exterior sealant alone is rarely a durable repair for a failed penetration.
Chimneys often require multiple flashing components because they meet the roof on several sides. Skylights depend on properly integrated sill, side, and head flashing. While vent pipes rely on a flashing flange and a roof boot that can crack or lose its seal. Wind-driven rain can test these transitions from angles ordinary rainfall does not. Movement between roofing materials and the penetration can also widen gaps over time.
Why Florida weather exposes weak details
St. Petersburg and the wider Tampa Bay area place repeated demands on roof penetrations. Humid conditions and strong sun accelerate deterioration of exposed sealants and flexible boots, while frequent heavy rain sends large volumes of water toward every roof opening. Storm winds can lift surrounding shingles, loosen metal, or force water beneath a marginal lap. More complex roofs with multiple vents, chimneys, or skylights also have more flashing locations to inspect, according to the University of Minnesota Extension.
Properly inspecting flashing at chimneys and vents means checking the visible metal, adjacent roofing, fasteners, laps, and interior evidence together. That approach helps distinguish a localized flashing failure from a broader roof-system problem and guides a repair that addresses the path water is actually taking.
Signs Your Roof Flashing Needs Repair in St. Petersburg
Signs of failed roof flashing include rust, cracks, lifted or missing metal, and open seams around chimneys, skylights, vents, and plumbing stacks. In St. Petersburg, these small defects can turn into interior leaks when heavy rain and storm winds test the roof.
Roof flashing repair St. Petersburg homeowners can rely on starts with recognizing small warning signs before water reaches the framing, insulation, or finished ceilings. Rust, open seams, and movement around chimneys, vents, skylights, and plumbing penetrations deserve prompt attention. St. Petersburg’s heavy rain, humidity, and storm exposure can turn a minor flashing defect into a recurring leak.
What to look for on the roof
Only inspect from a safe location, such as the ground or a securely accessible area. Do not walk a wet, steep, fragile, or tile roof. From a safe viewpoint, look for:
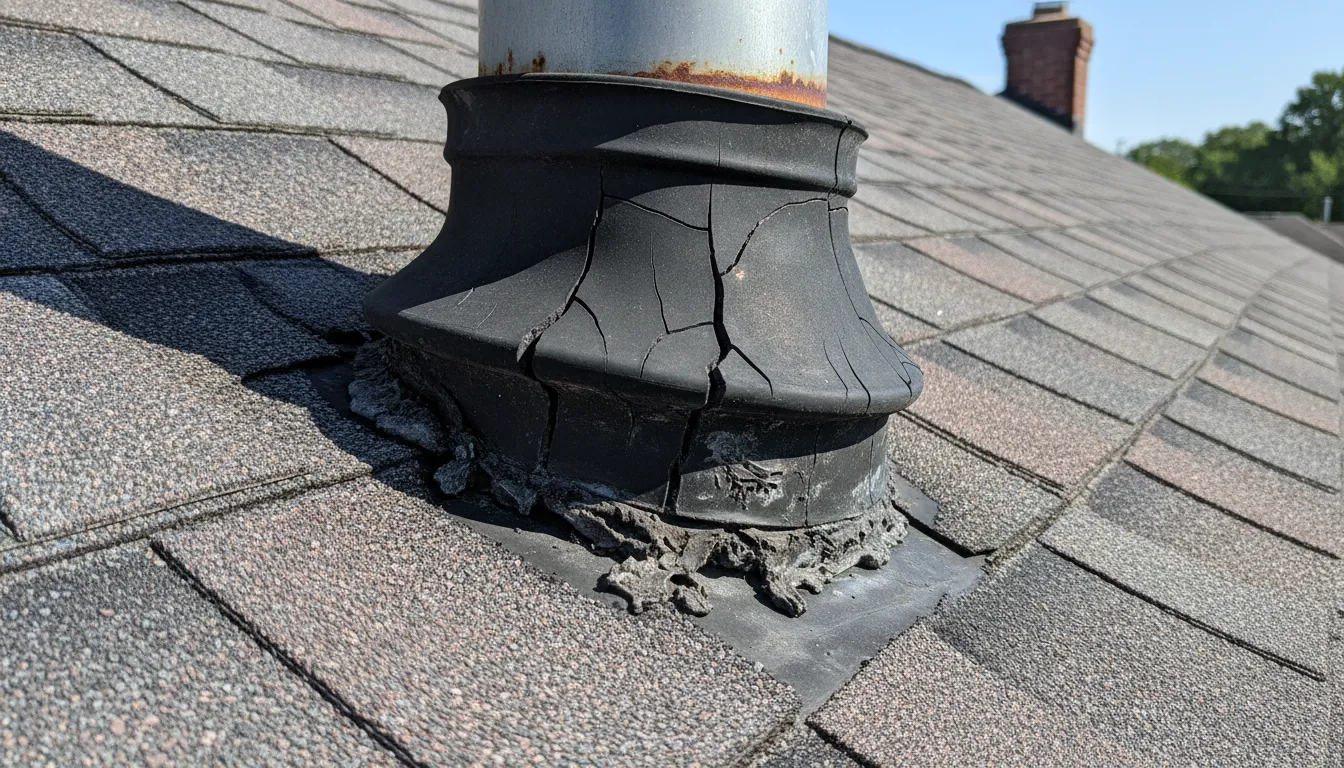
- Rust or corrosion: Orange staining, thinning metal, or pinholes can indicate that flashing is losing its ability to shed water.
- Cracks, splits, and open seams: Gaps where flashing meets a wall, chimney, curb, or roof surface allow wind-driven rain to enter.
- Missing, loose, or flapping metal: Storm winds can lift flashing or pull fasteners loose. Any piece that moves should be evaluated rather than pushed back into place.
- Lifted rubber pipe boots: A boot that is cracked, displaced, or raised around a plumbing vent can expose the penetration to direct rainfall.
- Exposed fasteners or failed sealant: Sealant that has separated, shrunk, or deteriorated around a penetration is not a dependable substitute for correctly integrated flashing.
Step and apron flashings are used frequently and are also among the details most often found incomplete or incorrectly installed, according to the University of Minnesota Extension. The drainage-plane guidance explains that improperly overlapped or reversed flashing can direct water into the building instead of away from it. Review the drainage-plane guidance for the technical reason correct overlaps matter.
Interior clues that flashing is failing
Water does not always appear directly below the failed detail. Check ceilings, upper walls, and areas around chimneys or skylights for brown or yellow stains, bubbling paint, damp drywall, peeling trim, or a musty odor after rain. Daylight visible through the roof deck from inside an attic is another warning sign, especially around penetrations. Do not assume a stain is harmless because it dries between storms. Roof penetrations are common leak locations, and concealed moisture can continue damaging building materials.
After strong weather, use this guide to checking for damaged flashing after a storm without climbing onto the roof. For a closer evaluation, schedule an inspection focused on inspecting flashing at chimneys and vents. If water is already entering the home, professional roof flashing repair can address the source before interior damage spreads.
What Types of Roof Flashing Protect Common Penetrations?
Each roof penetration uses a specific flashing detail: step flashing along walls and chimneys, counter flashing in masonry, pipe boots on vents, and flashing pans under skylights. Matching the right detail to the penetration keeps water moving over the roof instead of behind it.
Flashing is not one universal strip of metal. Each detail is shaped to move water around a different interruption in the roof’s drainage plane. In St. Petersburg, that distinction matters because heavy rain can expose small gaps around chimneys, vents, skylights, and roof edges quickly. The University of Minnesota Extension explains that flashing must overlap in a way that directs water outward, not into the structure. Reversed or incomplete overlaps can contribute to moisture damage.
Match the flashing detail to the penetration
A visual inspection should identify both the flashing type and how it interfaces with shingles, underlayment, masonry, or the roof membrane. The table below summarizes the common applications and failure points a roofer evaluates during professional roof flashing repair.
| Flashing type | Primary function | Best use | Common failure mode |
|---|---|---|---|
| Step flashing | Uses overlapping, stepped pieces to direct water away from a roof-to-wall joint. | Along sidewalls, dormers, and the sides of chimneys, especially with shingle roofing. | Pieces are missing, installed backward, reused during reroofing, or not woven correctly with the shingles. |
| Counter flashing | Covers and protects the upper edge of base or step flashing. | Chimney and masonry intersections, where it is commonly set into a mortar joint or masonry chase. | Loose masonry, open mortar joints, or a counter-flashing edge that was never properly embedded and sealed. |
| Continuous or apron flashing | Forms a continuous barrier that carries water across a roof-to-wall transition. | The lower edge of a wall, dormer, or chimney where a single long run can supplement stepped sections. | Short, poorly lapped, or poorly fastened sections allow water behind the flashing; apron details are also frequently incomplete. |
| Pipe boot or flashing collar | Seals the circular opening around a plumbing vent and sheds water onto the roof surface. | Plumbing stacks and other round roof penetrations. | Cracked rubber, rusted metal, shrinkage, loose fasteners, or sealant deterioration around the pipe. |
| Skylight flashing pan | Integrates the skylight frame with underlayment and shingles so runoff moves around the opening. | Skylights on shingle, tile, or other sloped roof systems. | Damaged step flashing, blocked drainage channels, failed seals, or an installation that does not follow the roof’s water-shedding sequence. |
| Valley flashing | Channels concentrated runoff where two roof slopes meet. | Open or closed valleys that collect water from large sections of roof. | Corrosion, punctures, debris buildup, improper shingle cuts, or fasteners placed where runoff is concentrated. |
These components work as a system. Replacing a cracked pipe boot will not solve a leak if the surrounding underlayment, step flashing, or valley is also compromised. A careful roof inspection traces the water path rather than assuming the visible stain marks the exact entry point. Low-slope and commercial roofs present different details, so roof flashing repair for flat roofs follows its own membrane-and-termination-bar approach.
Roof Flashing Repair vs. Replacement: How Does a St. Petersburg Roofer Decide?
Choose repair when the flashing is still sound and the defect is small and accessible, such as a lifted fastener, loose seam, or cracked seal. Choose replacement when corrosion, splits, or repeated patching mean the flashing can no longer shed water reliably.
Roof flashing repair St. Petersburg homeowners can rely on depends on whether the metal or membrane has an isolated defect or has reached the end of its useful service. A roofer also evaluates the surrounding shingles, tiles, underlayment, sealants, and the penetration itself before recommending a repair.
When a targeted flashing repair makes sense
Repair is often appropriate when the flashing is generally sound and the problem is limited to a small, accessible defect. Examples include a lifted fastener, a loose seam, a localized puncture, or a failed seal around a vent pipe. The roofer may replace loose or corroded fasteners, reseal a joint with a compatible roofing sealant, or replace a small flashing segment while preserving properly installed adjacent material.
Nail pops deserve attention rather than simply being covered. A raised nail can create a path for water and may signal movement in the underlying assembly. The repair should secure the material correctly and restore the drainage path, not just add a surface layer that traps moisture.
When replacement is the safer choice
Full replacement becomes more appropriate when corrosion has spread, the metal is split or brittle, multiple seams have failed, or the flashing has been repeatedly patched. Age and material matter as well. Older flashing may no longer integrate reliably with newer roofing materials, while thin or incompatible metal can fail again when exposed to St. Petersburg’s heat, humidity, wind-driven rain, and storm debris.
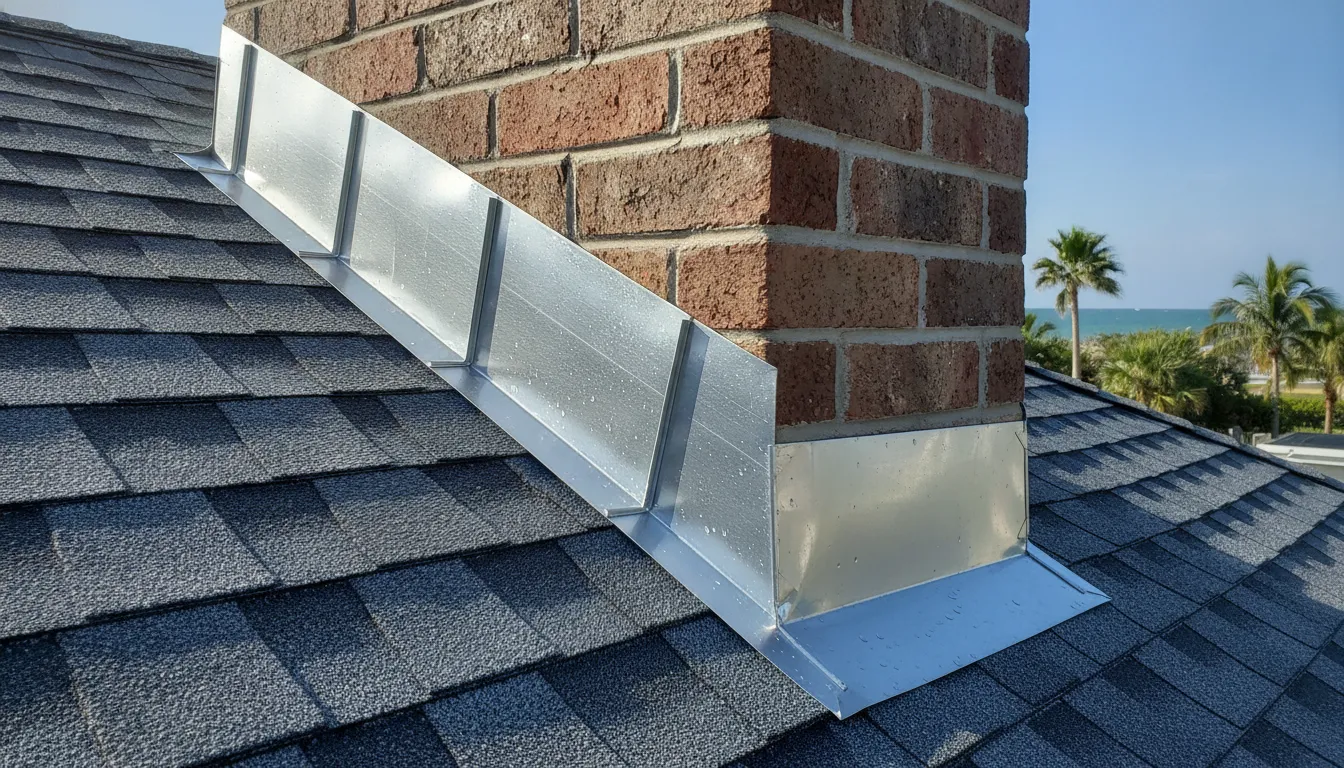
Counter flashing also changes the decision. If it is embedded into masonry, improperly cut, or missing, the repair may require careful reconstruction rather than a surface patch. At a chimney, the roofer must consider both the base flashing and counter flashing so water cannot bypass the transition. When a new chimney or skylight is installed. The surrounding flashing is typically replaced as part of the installation instead of being forced to fit around the new structure.
Why the penetration and local exposure matter
A roof is the home’s first line of defense against environmental elements, according to Virginia Cooperative Extension guidance. In a hurricane-prone area, robust roof design also matters because high winds and heavy rainfall test every transition and penetration. That does not mean every rust spot requires a full roof replacement. It does mean the flashing decision should account for how the repair will perform during the next severe weather event.
If water is already entering near a chimney, skylight, or vent, arrange an assessment before interior damage spreads. A professional roof flashing repair evaluation can distinguish a localized correction from a broader failure. Homeowners with tile systems should also review the requirements for flashing repair on tile roofing systems, since access and replacement methods differ from shingle roofing.
How Does Proper Flashing Installation Prevent Water Intrusion?
A proper flashing installation directs rainwater down and over the drainage plane so it never enters the roof assembly around a penetration. Correctly lapped step flashing, counter flashing, and pipe boots give St. Petersburg homes a controlled runoff path during heavy storms.
A sound flashing installation gives rainwater a controlled path away from roof penetrations, reducing the chance that St. Petersburg storms drive moisture beneath shingles, tiles, or wall materials. Flashing is part of the roof’s drainage plane, so each layer must direct water over the layer below it. The University of Minnesota Extension notes that reversed or improperly overlapped flashing can direct water into a building and cause moisture damage. See our guidance on professional roof flashing repair when a leak appears near a penetration.
What a storm-ready flashing installation includes
Installation details vary by roof material and penetration, but the sequence matters. Apron and step flashing are used frequently, and those common details are also among the ones most often installed incorrectly or incompletely. A qualified roofer should evaluate how the flashing, underlayment, fasteners, sealants, and surrounding roof covering work together.
- Inspect the deck and surrounding materials. Remove enough roofing material to examine the roof deck, underlayment, framing, and penetration for rot, staining, loose fasteners, or concealed water damage. A new metal layer cannot correct a weakened or wet substrate.
- Lay the base or step flashing correctly. Install the appropriate apron, base, or step flashing at the penetration, wall intersection, chimney, skylight, or vent. Pieces should be secured without creating exposed paths for water, and step flashing should integrate with each course of the roof covering.
- Overlap the drainage plane from high to low. Upper materials must shed water over lower materials, not behind them. This shingle-like layering is what keeps wind-driven rain moving toward the eaves instead of into the roof assembly. Reversed or incomplete overlaps are a direct intrusion risk.
- Use the proper sealant and penetration boot. Plumbing stacks and similar penetrations need a correctly sized, durable boot and compatible sealant at the designed transition points. Sealant supports the assembly, but it should not substitute for correctly layered metal and underlayment.
- Counter-flash into masonry where required. Chimneys and masonry walls need counter flashing integrated into mortar joints or the masonry itself. With the upper edge secured and the lower edge directing water onto the flashing below. This helps protect the joint during heavy rain and wind.
For St. Petersburg homes, storm resilience depends on more than applying extra caulk. Strong installation preserves the drainage path, uses compatible materials, and accounts for heavy rainfall and hurricane-season wind. After a major storm, homeowners can review our guide to damaged flashing after a storm, but avoid walking on a wet or steep roof.
When to Call a Roof Flashing Repair St. Petersburg Crew
Call a roofing professional when you see damaged flashing, notice an interior stain, or a major storm has passed over your home. Timely roof flashing repair in St. Petersburg prevents a small opening from becoming costly interior water damage.
Call a professional when flashing damage is visible, a leak appears, or a major storm has passed over your property. In St. Petersburg, intense rain, high heat, humidity, and hurricane-force winds can expose small weaknesses around chimneys, vents, skylights, and roof edges before the rest of the roof looks worn.
Schedule inspections before a small defect becomes a leak
An annual roof inspection gives a qualified roofer an opportunity to check flashing, sealants. Fasteners, pipe boots, and drainage paths that are difficult to evaluate safely from the ground. Preventive inspections are especially useful for older roofs, homes with several roof penetrations, and properties that have experienced previous repairs. A professional can also identify lifted metal, cracked sealant, corrosion, or incomplete step flashing before water reaches the decking or interior finishes.
For a practical maintenance schedule, review this guide to inspecting flashing at chimneys and vents. It can help you understand what a routine inspection should cover without encouraging unsafe climbing.
Call after major storms and at the first interior stain
Arrange an inspection after a major thunderstorm, tropical storm, or hurricane, even when shingles appear intact. Wind can loosen flashing or create openings at penetrations, while wind-driven rain can enter areas that ordinary rainfall does not reach. If you notice a ceiling stain, damp insulation, peeling paint, or a musty odor near an exterior wall or roof penetration, contact a roofing professional promptly. The visible mark may be several feet away from the actual entry point.
Do not wait for the next downpour to confirm the problem. A guide to checking for damaged flashing after a storm can help with ground-level observations, but it does not replace a roof assessment. For an active leak, professional roof flashing repair may prevent moisture from spreading into the roof deck and interior materials.
Why DIY flashing work can create bigger problems
Roof flashing repair is not a good do-it-yourself project on steep slopes, hot surfaces, or roofs made slippery by Florida humidity. Falls are a serious risk, and incorrect cuts, fastener placement, or sealant application can redirect water beneath the roofing system instead of away from it. A repair that covers the symptom may also hide damaged decking or corrosion around a penetration.
Professional work can help preserve manufacturer requirements and existing warranty conditions. Before attempting a patch, use the roof leak repair resource to understand why the leak location may not identify the flashing failure. A qualified St. Petersburg crew can document the condition, explain whether repair or replacement is appropriate, and address the source safely.
Get a roof flashing repair estimate from a St. Petersburg roofer before the next storm
Frequently Asked Questions
What are the common signs of damaged roof flashing?
Look for rust, cracks, lifted edges, missing sections, or visible gaps around chimneys, skylights, vents, and plumbing stacks. Water stains or damp drywall near a penetration can also indicate that flashing is no longer directing water safely away from the roof opening.
Can I repair roof flashing myself, or should I hire a professional in St. Petersburg?
Minor surface issues may look simple, but proper repair requires identifying the leak path, checking the surrounding roofing, and creating a watertight connection between materials. A professional can also evaluate storm-related damage and roof-safety risks that are easy to miss from the ground.
Why is roof flashing especially important for homes in St. Petersburg?
Flashing protects the roof penetrations most exposed to heavy rain and wind-driven water. St. Petersburg homes also face heat, humidity, and seasonal storms, so a small opening around a vent or skylight can allow recurring moisture into the roof assembly.
How often should roof flashing be inspected?
Have flashing checked during a routine annual roof inspection, and arrange an additional inspection after a major storm. Earlier evaluation is sensible when you notice interior stains, musty odors, dripping, or visible changes around a penetration.
How much does roof flashing repair cost in St. Petersburg?
There is no reliable flat price because the work may involve a pipe boot, step flashing, a chimney, a skylight, or surrounding roof materials. The extent of damage and the material required determine the cost, so an inspection is the best way to receive an accurate repair recommendation and quote.
Schedule Your Roof Flashing Repair Consultation
A professional inspection can clarify whether flashing around a chimney, skylight, vent, or plumbing stack needs targeted repair. For St. Petersburg homeowners, that practical review helps connect visible concerns with the roof’s overall condition before repair decisions are made. Schedule a free roof inspection and flashing repair consultation by calling (727) 361-6905. Go Time Roofing and Restoration can discuss the next appropriate step for your home.